本文实例为大家分享了vue实现图片切换效果的具体代码,供大家参考,具体内容如下
1)v-if/v-show
二者都可以实现让元素隐藏和显示。但是实现原理不同:
v-if 是通过将元素从dom树中移除和添加来实现元素的隐藏和显示效果。
v-show 是通过修改元素的displace值来实现元素的隐藏和显示效果。
2)v-bind
v-bind可以对元素的属性值进行修改。
基于这些背景知识,下面来实现图片切换实例。
功能需求
1)点击左边按钮,显示前一张图片;如果图片是第一张,则隐藏该按钮
2)点击右边按钮,显示后一张图片;如果图片是最后一张,则隐藏该按钮

实现代码
<!DOCTYPE html>
<html>
<head>
<meta charset="utf-8" />
<title>图片切换效果</title>
<style>
#test{
position: absolute;
}
#left{
position: absolute;
top: 134px;
z-index: 99;
width: 24px;
height: 32px;
background-color: black;
color: white;
font-size: 24px;
opacity: 0.6;
cursor: pointer;
}
#right{
position: absolute;
right: 0;
top: 134px;
z-index: 99;
width: 24px;
height: 32px;
background-color: black;
color: white;
font-size: 24px;
opacity: 0.6;
cursor: pointer;
}
img{
width: 500px;
height: 300px;
}
</style>
</head>
<body>
<div id="test" >
<div id="left" @click = "changeleft" v-if="lefttt"> < </div>
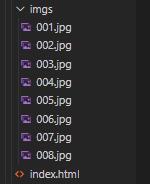
<img v-bind:src = "'imgs/00'+num+'.jpg'"/><br>
<div id="right" @click = "changeright" v-show="righttt"> > </div>
</div>
</body>
<!-- 开发环境版本,包含了有帮助的命令行警告 -->
<script src="https://cdn.jsdelivr.net/npm/vue/dist/vue.js"></script>
<script type="text/javascript">
var dated = new Vue({
//挂载点
el: "#test",
//数据
data: {
num: 1,
lefttt:false,
righttt:true,
},
methods: {
changeleft : function (){
if(this.num <= 2){
this.lefttt=false;
this.num = 1;
}else{
this.lefttt=true;
this.num--;
}
this.righttt=true;
},
changeright : function (){
if(this.num >= 7){
this.righttt=false;
this.num = 8;
}else{
this.righttt=true;
this.num++;
}
this.lefttt=true;
}
}
});
</script>
</html>
效果
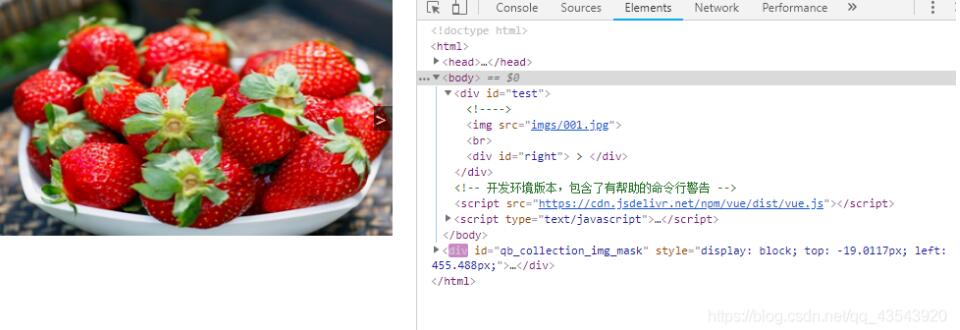
1)显示第一张图片时

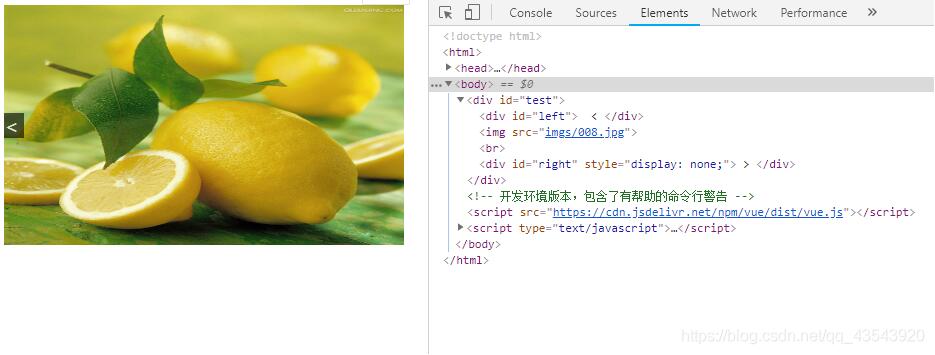
2)显示最后一张图片时

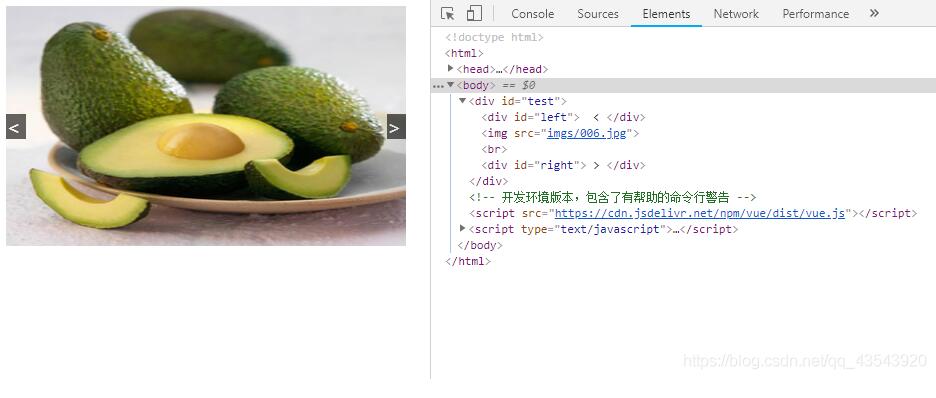
3)显示其他张图片时

以上就是本文的全部内容,希望对大家的学习有所帮助,也希望大家多多支持自学编程网。

- 本文固定链接: https://zxbcw.cn/post/215912/
- 转载请注明:必须在正文中标注并保留原文链接
- QQ群: PHP高手阵营官方总群(344148542)
- QQ群: Yii2.0开发(304864863)
