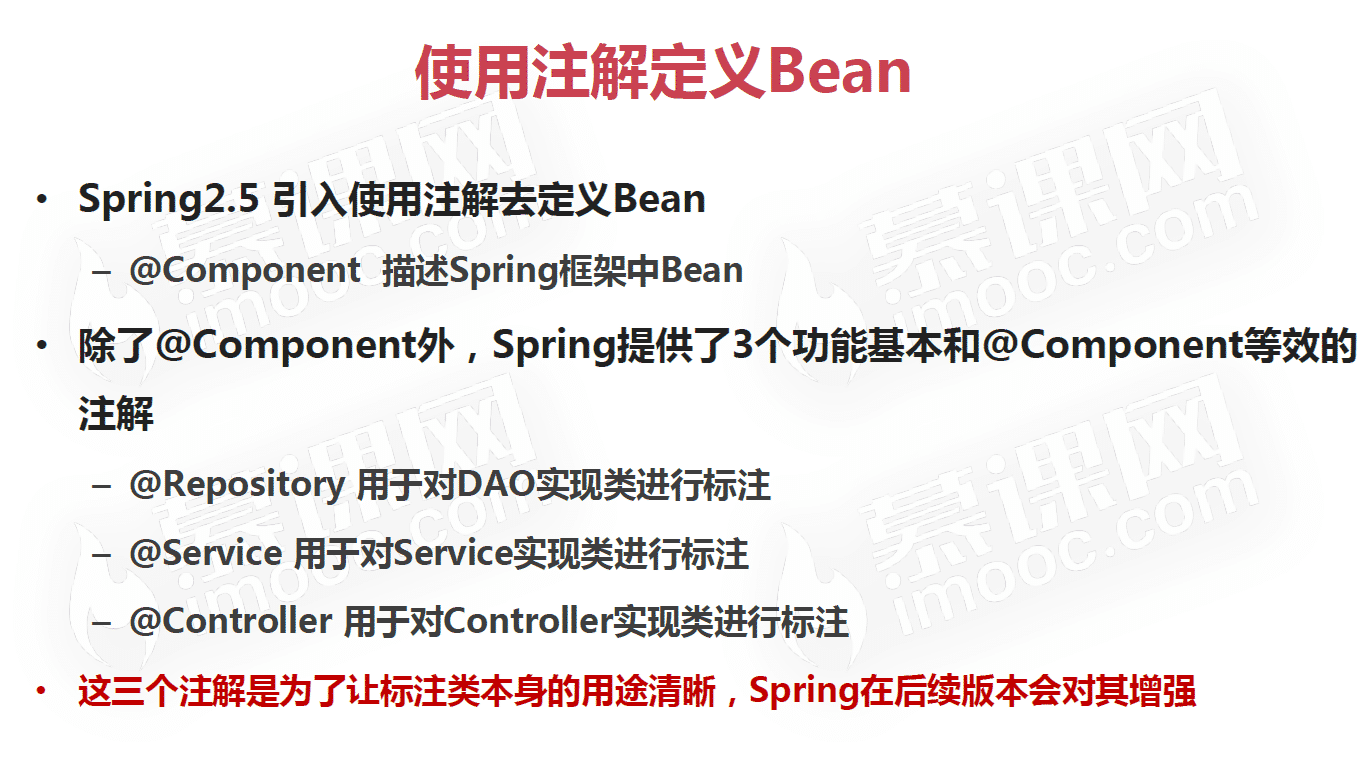
1.使用注解的方式需要配置applicationContext.xml:
<?xml version="1.0" encoding="UTF-8"?>
<beans xmlns="http://www.springframework.org/schema/beans"
    xmlns:xsi="http://www.w3.org/2001/XMLSchema-instance"
    xmlns:context="http://www.springframework.org/schema/context"
    xsi:schemaLocation="http://www.springframework.org/schema/beans http://www.springframework.org/schema/beans/spring-beans.xsd http://www.springframework.org/schema/context https://www.springframework.org/schema/context/spring-context.xsd">
  <context:component-scan base-package="org.yzytest1"></context:component-scan>  <!--开启包扫描-->
</beans>
2.将类交给Spring管理:
@Component("Demo1")   //使用注解Component
public class Demo1 {
  @Value("yzy")
  private String name;
  public void say(){
    System.out.println("你好呀!"+name);
  }
}

3.Spring的属性注入:
普通的属性注入,使用@Value属性注入:
@Component("Demo1")
public class Demo1 {
  @Value("yzy")      //使用注解Value,属性注入
  private String name;
  public void say(){
    System.out.println("你好呀!"+name);
  }
}
复杂的属性注入,使用@Resource属性注入:
import org.springframework.stereotype.Component;

import javax.annotation.Resource;

@Component("Demo1")
public class Demo1 {
  @Resource(name="User")    //使用@Resource,属性注入对象
  private User user;
  public void say(){
    System.out.println("你好呀!"+user.getUsername());
  }
}
4.Spring的其他注解:


以上就是本文的全部内容,希望对大家的学习有所帮助,也希望大家多多支持自学编程网。

- 本文固定链接: https://zxbcw.cn/post/183187/
- 转载请注明:必须在正文中标注并保留原文链接
- QQ群: PHP高手阵营官方总群(344148542)
- QQ群: Yii2.0开发(304864863)
