
本文实例为大家分享了unity实现玻璃效果的具体代码,供大家参考,具体内容如下
一、使用Cubemap,做一个假反射
shader代码如下:
Shader "Custom/glassShader" {
 Properties {
 _MainColor("Main Color",Color)=(1,1,1,1)
 _MainTex ("Base (RGB)", 2D) = "white" {}
 _Cube("Cube",CUBE)=""{}
 }
 SubShader {
 Tags {"RenderType"="Opaque"}
 LOD 200

 //cull off

 CGPROGRAM
 #pragma surface surf Lambert alpha

 fixed4 _MainColor;
 sampler2D _MainTex;
 samplerCUBE _Cube;

 struct Input {
 float2 uv_MainTex;
 float3 worldRefl;
 };

 void surf (Input IN, inout SurfaceOutput o) {
 half4 c = tex2D (_MainTex, IN.uv_MainTex);
 o.Albedo = c.rgb*_MainColor.rgb;
 o.Emission=texCUBE(_Cube,IN.worldRefl).rgb;
 o.Alpha = c.a*_MainColor.a;
 }
 ENDCG
 }

 FallBack "Diffuse"
}
二、使用GrabPass,抓取屏幕纹理,实现实时反射
shader代码如下:
Shader "Unlit/GrabGlass"
{
 Properties
 {
 _Color("Main Color",Color)=(1,1,1,1)
 _MainTex ("Texture", 2D) = "white" {}
 }
 SubShader
 {


 Tags {"Queue"="Transparent" "RenderType"="Opaque" }//Opaque
 LOD 100

 //绘制半透明物体 关闭深度缓存
 ZWrite Off
 //透明混合
 Blend SrcAlpha OneMinusSrcAlpha

 //如果没有命名,则可以用_GrabTexture来读取,不过开销很大,应用到特殊效果时才去应用
 GrabPass
 {
 "_GrabTex"
 }

 Pass
 {
 CGPROGRAM
 #pragma vertex vert
 #pragma fragment frag
 // make fog work
 #pragma multi_compile_fog

 #include "UnityCG.cginc"

 struct appdata
 {
 float4 vertex : POSITION;
 float2 uv : TEXCOORD0;
 };

 struct v2f
 {
 float2 uv : TEXCOORD0;
 UNITY_FOG_COORDS(1)
 float4 vertex : SV_POSITION;
 };

 sampler2D _MainTex;
 float4 _MainTex_ST;
 fixed4 _Color;
 sampler2D _GrabTex;

 v2f vert (appdata v)
 {
 v2f o;
 o.vertex = mul(UNITY_MATRIX_MVP, v.vertex);
 o.uv = TRANSFORM_TEX(v.uv, _MainTex);
 UNITY_TRANSFER_FOG(o,o.vertex);
 return o;
 }

 fixed4 frag (v2f i) : SV_Target
 {
 // sample the texture
 fixed4 col = tex2D(_MainTex, i.uv)*_Color;

 // apply fog
 UNITY_APPLY_FOG(i.fogCoord, col);
 //调整一下uv
 float2 uv=i.uv;
 uv.x=1-uv.x;
 return col*tex2D(_GrabTex,uv);
 }
 ENDCG
 }
 }
}
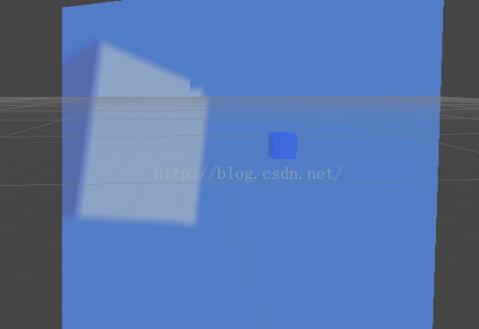
效果如下:

三、使用摄像机实现实时反射
因为GrabPass,相对来说消耗较大,只建议用于一些特殊效果,于是这里就借助辅助摄像机,来实现实时反射效果,当然这需要多写一个脚本,同时需要在辅助摄像机中屏蔽玻璃本身
shader代码如下:
Shader "Unlit/CameraGlass"
{
 Properties
 {
 _MainTex ("Texture", 2D) = "white" {}
 }
 SubShader
 {
 Tags { "RenderType"="Opaque" }
 LOD 100

 Pass
 {
 CGPROGRAM
 #pragma vertex vert
 #pragma fragment frag
 // make fog work
 #pragma multi_compile_fog

 #include "UnityCG.cginc"

 struct appdata
 {
 float4 vertex : POSITION;
 float2 uv : TEXCOORD0;
 };

 struct v2f
 {
 float2 uv : TEXCOORD0;
 UNITY_FOG_COORDS(1)
 float4 vertex : SV_POSITION;
 };

 sampler2D _MainTex;
 float4 _MainTex_ST;

 v2f vert (appdata v)
 {
 v2f o;
 o.vertex = mul(UNITY_MATRIX_MVP, v.vertex);
 o.uv = TRANSFORM_TEX(v.uv, _MainTex);
 UNITY_TRANSFER_FOG(o,o.vertex);
 return o;
 }

 fixed4 frag (v2f i) : SV_Target
 {
 // sample the texture 需要调整一下uv
 fixed4 col = tex2D(_MainTex, 1-i.uv);
 // apply fog
 UNITY_APPLY_FOG(i.fogCoord, col);
 return col;
 }
 ENDCG
 }
 }
}
脚本代码如下:
using UnityEngine;
using System.Collections;

public class RenderGlassTexture : MonoBehaviour {

 /// <summary>
 /// 辅助摄像机
 /// 原理:就是将辅助摄像机所看到的内容渲染到玻璃物体上,所以就实现了实时反射的镜面效果
 /// 因为玻璃也是场景中的物体,所以辅助摄像机也会看见他
 /// 所以最好能将玻璃物体单独放在一个层级中,让辅助摄像机不去渲染他
 /// </summary>
 public Camera cam;
 private RenderTexture renderTex;
 /// <summary>
 /// 玻璃shader
 /// </summary>
 public Shader glassShader;
 /// <summary>
 /// 玻璃材质
 /// </summary>
 private Material m_GlassMaterial;
 protected Material GlassMaterial
 {
  get
  {
   if (m_GlassMaterial == null)
   {
    m_GlassMaterial = new Material(glassShader);
   }
   return m_GlassMaterial;
  }
 }

 // Use this for initialization
 void Start () {
  renderTex = new RenderTexture(Screen.width, Screen.height, 16);
  cam.targetTexture = renderTex;
 }

 //在摄像机开始裁剪场景之前调用
 void OnPreCull()
 {
  GlassMaterial.SetTexture("_MainTex", renderTex);
 }

 //在相机完成场景渲染后调用
 void OnPostRender()
 {
  GlassMaterial.SetTexture("_MainTex", null);
 }
}
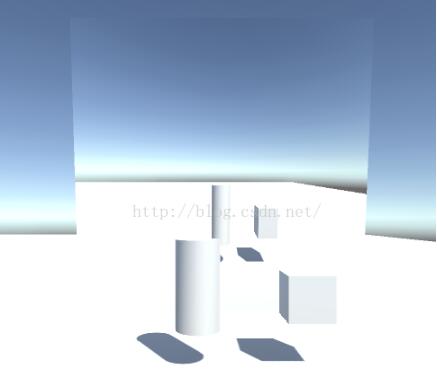
效果如下:
以上就是本文的全部内容,希望对大家的学习有所帮助,也希望大家多多支持自学编程网。

- 本文固定链接: https://zxbcw.cn/post/185693/
- 转载请注明:必须在正文中标注并保留原文链接
- QQ群: PHP高手阵营官方总群(344148542)
- QQ群: Yii2.0开发(304864863)