本文实例为大家分享了使用thinkphp5.1 + Vue+axios+实现文件上传,供大家参考,具体内容如下
前言
使用thinkphp5.1 + Vue+axios+实现文件上传
一.页面代码
<!DOCTYPE html>
<html>
<head>
    <meta charset="utf-8">
    <title>上传Demo</title>
    <style>
        .fileBtn{
            width: 180px;
            height: 36px;
            line-height: 36px;
            background: skyblue;
            border-radius: 5px;
            display: block;
            text-align: center;
            color: white;
        }
        [v-cloak] {
            display: none;
        }
    </style>
    <script src="https://cdn.jsdelivr.net/npm/vue/dist/vue.js"></script>
    <script src="https://unpkg.com/axios/dist/axios.min.js"></script>
</head>
<body>
<div id="app">
    <h1 v-cloak>{{message}}</h1>
    <form>
        <input type="file" name="file" ref="file" id="file" v-on:change="upload" style="visibility: hidden;" />
        <label for="file" class="fileBtn">上传</label>
    </form>
</div>

</body>
</html>

<script>
    var vue = new Vue({
        el:'#app',
        data:{
            message:'文件上传',
        },
        methods:{
            upload:function(file) {
                console.log(file.target.files[0]);
                var forms = new FormData()
                var configs = {
                    headers:{'Content-Type':'multipart/form-data;charse=UTF-8'}
                };
                forms.append('file',file.target.files[0]);
                axios.post('http://127.0.0.1/index/index/upload', forms,configs)
                    .then(function (response) {
                        if (response.data.code == 0) {
                            alert('文件上传成功');
                        } else {
                            alert('文件上传失败');
                        }
                        file.target.value = '';

                    })
                    .catch(function (error) {
                        console.log(error);
                    });
            }
        }
    });

</script>

二、解决接口跨域问题
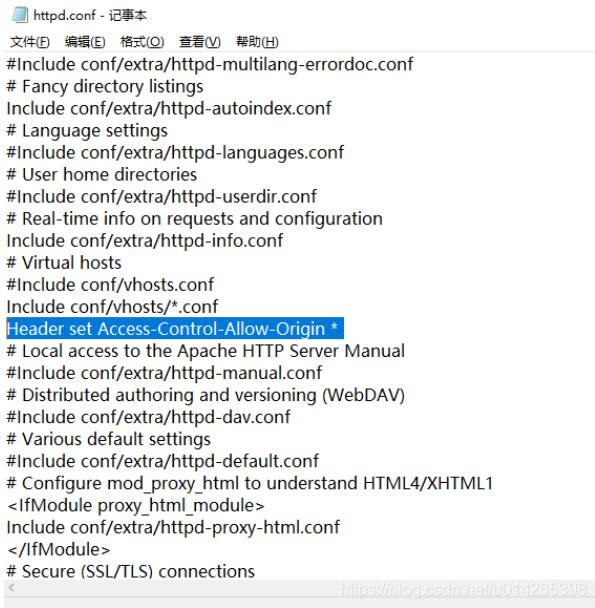
这里使用的apache 2.4.8,找到httpd.conf ,添加一行配置:
Header set Access-Control-Allow-Origin *

三.后端处理上传部分
/**
     * 文件上传方法校验
     */
    public function upload()
    {
        try{
            $file = request()->file('file');

            if (empty($file)) {
                echo json_encode(['code' => 1,"msg" => '请选择上传文件'],JSON_UNESCAPED_UNICODE);exit;
            }
            // 移动到框架应用根目录/uploads/ 目录下
            $info = $file->move( '../uploads');
            if($info){
                // 成功上传后 获取上传信息
                // 输出 jpg
                echo json_encode(['code' => 0,"msg" => 'succcess'],JSON_UNESCAPED_UNICODE);exit;
            }else{
                // 上传失败获取错误信息
                echo json_encode(['code' => 1,"msg" => 'error'],JSON_UNESCAPED_UNICODE);exit;
            }
        } catch (Exception $e) {
            echo json_encode(['code' => 1,"msg" => 'error'],JSON_UNESCAPED_UNICODE);exit;
        }
}
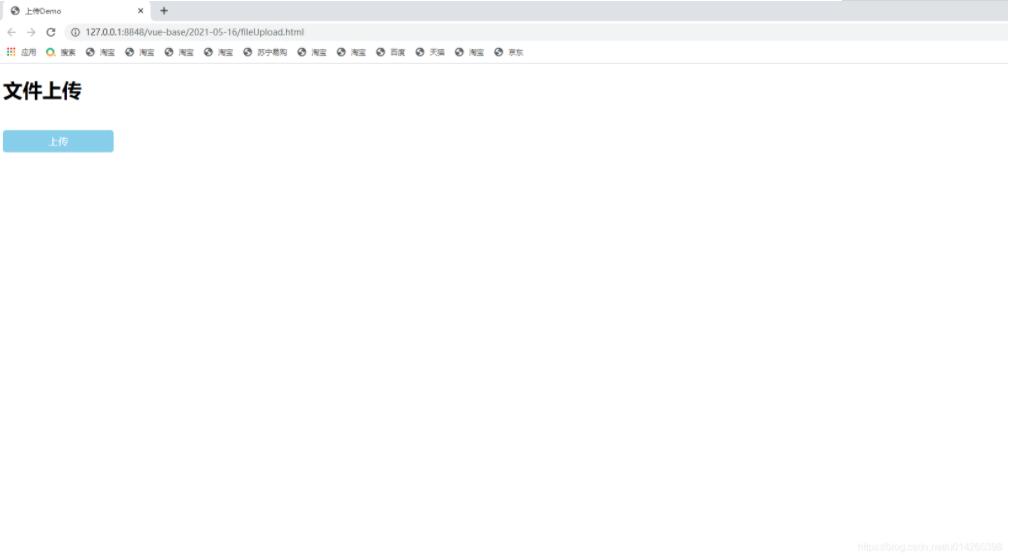
四.实际效果


测试成功!
关于vue.js的学习教程,请大家点击专题vue.js组件学习教程、Vue.js前端组件学习教程进行学习。
以上就是本文的全部内容,希望对大家的学习有所帮助,也希望大家多多支持自学编程网。

- 本文固定链接: https://zxbcw.cn/post/212429/
- 转载请注明:必须在正文中标注并保留原文链接
- QQ群: PHP高手阵营官方总群(344148542)
- QQ群: Yii2.0开发(304864863)
