
写在前面
当然这里说的百分百可能有点夸张,但其实想象一下,游戏里面的某个窗口的字符就是那种样子,不会变化的。而且识别的字符可能也不需要太多。中文有大几千个常用字,还有各种符号,其实都不需要。
这里针对的场景很简单,主要是有以下几点:
- 识别的字符不多:只要识别几十个常用字符即可,比如说26个字母,数字,还有一些中文。
- 背景统一,字体一致:我们不是做验证码识别,我们要识别的字符都是清晰可见的。
- 字符和背景易分割:一般来说就是对图片灰度化之后,黑底白字或者白底黑字这种。
技术栈
这里用到的主要就是python+opencv了。
- python3
- opencv-python
环境主要是以下的库:
pip install opencv-python
pip install imutils
pip install matplotlib
实现思路
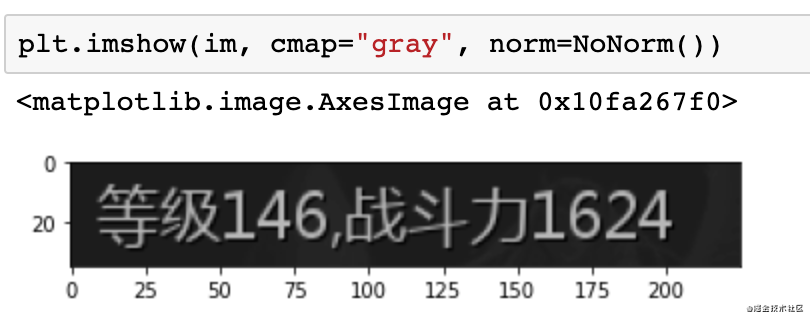
首先看下图片的灰度图。

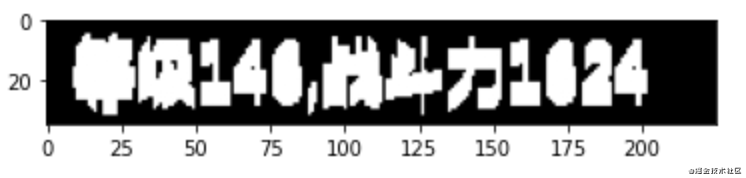
第一步:二值化,将灰度转换为只有黑白两种颜色。
第二步:图像膨胀,因为我们要通过找轮廓算法找到每个字符的轮廓然后分割,如果是字符还好,中文有很多左右偏旁,三点水这种无法将一个整体进行分割,这里通过膨胀将中文都黏在一起。
第三步:找轮廓。
第四步:外接矩形。我们需要的字符是一个矩形框,而不是无规则的。
第五步:过滤字符,这里比如说标点符号对我来说没用,我通过矩形框大小把它过滤掉。
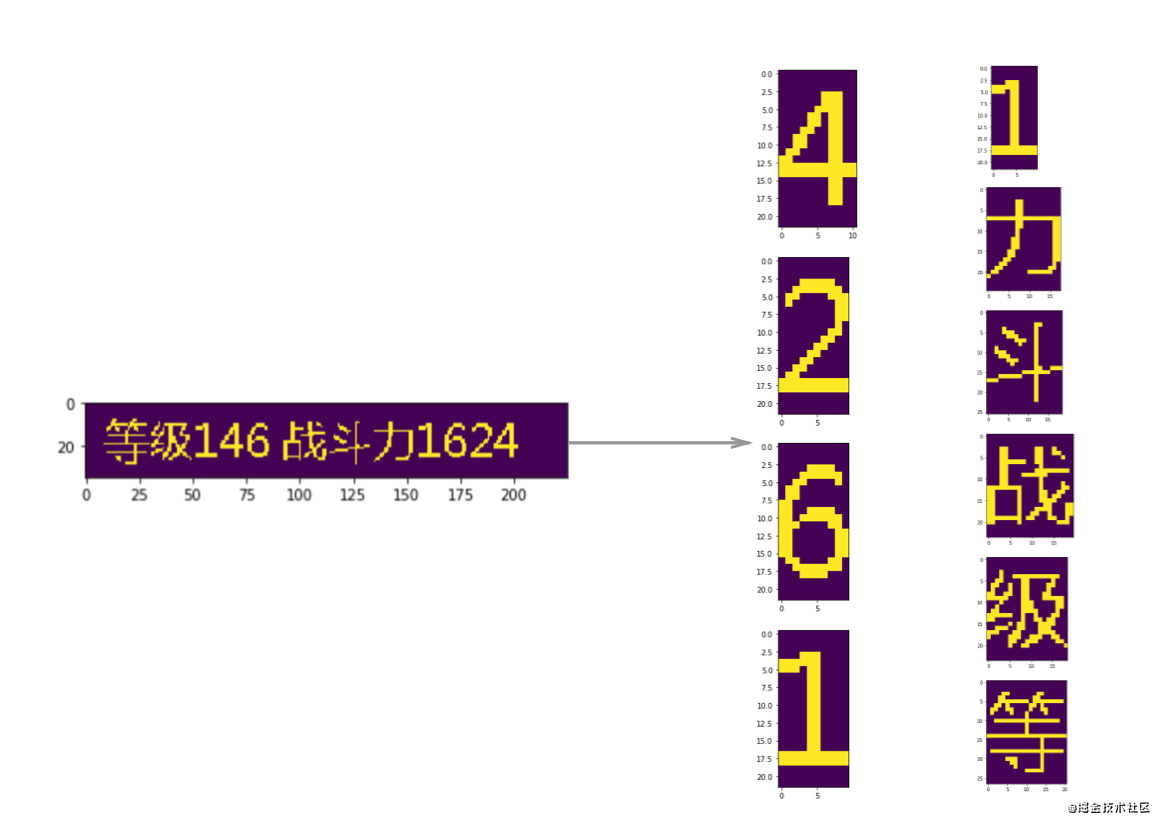
第六步:字符分割,根据矩形框分割字符。
第七步:构造数据集,每一类基本上放一两张图片就可以。
第八步:向量搜索+生成结果,根据数据集的图片,进行向量搜索得到识别的标签。然后根据图片分割的位置,对识别结果进行排序。
具体实现
读取图片
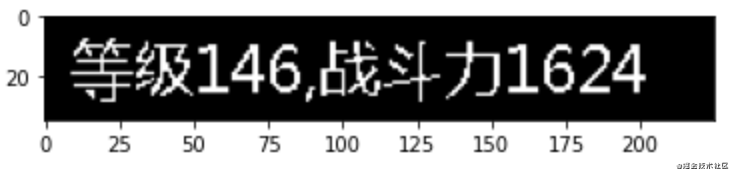
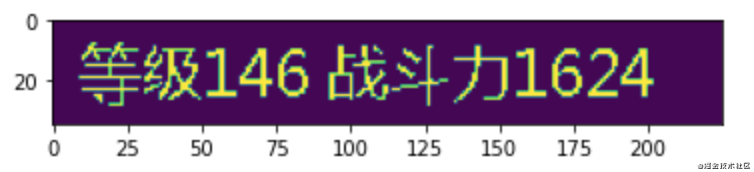
首先先读取待识别的图片。
import cv2
import numpy as np
from matplotlib import pyplot as plt
from matplotlib.colors import NoNorm
import imutils
from PIL import Image


img_file = "test.png"
im = cv2.imread(img_file, 0)
使用matplotlib画图结果如下:
二值化
在进行二值化之前,首先进行灰度分析。
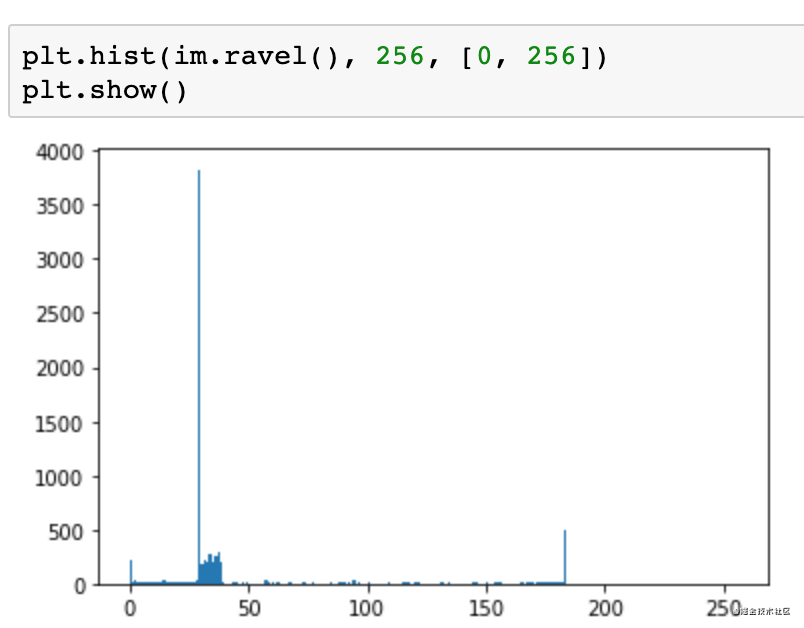
灰度值是在0到255之间,0代表黑色,255代表白色。可以看到这里背景色偏黑的,基本集中在灰度值30,40附近。而字符偏白,大概在180灰度这里。
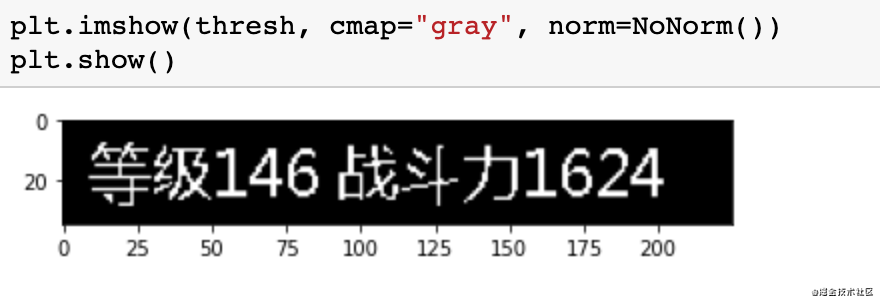
这里选择100作为分割的阈值。
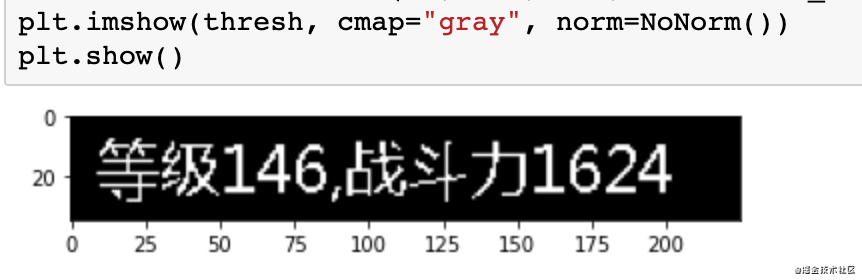
thresh = cv2.threshold(im, 100, 255, cv2.THRESH_BINARY)[1]
2值化后效果如下:
图像膨胀
接下来进行一个图像的纵向膨胀,选择一个膨胀的维度,这里选择的是7。
kernel = np.ones((7,1),np.uint8)
dilation = cv2.dilate(thresh, kernel, iterations=1)

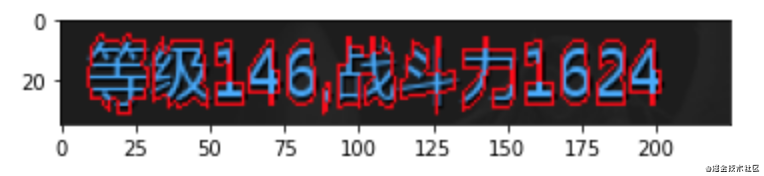
找轮廓
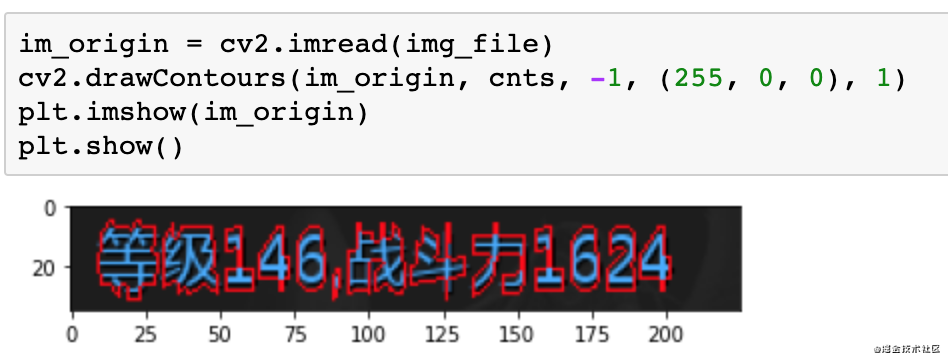
接下来调用opencv找一下轮廓,
# 找轮廓
cnts = cv2.findContours(dilation.copy(), cv2.RETR_EXTERNAL, cv2.CHAIN_APPROX_SIMPLE)
cnts = imutils.grab_contours(cnts)
接下来我们再读取一下原图,绘制轮廓看下轮廓的样子。
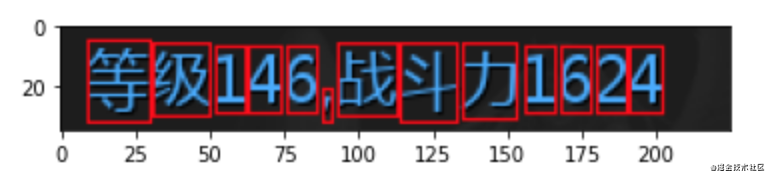
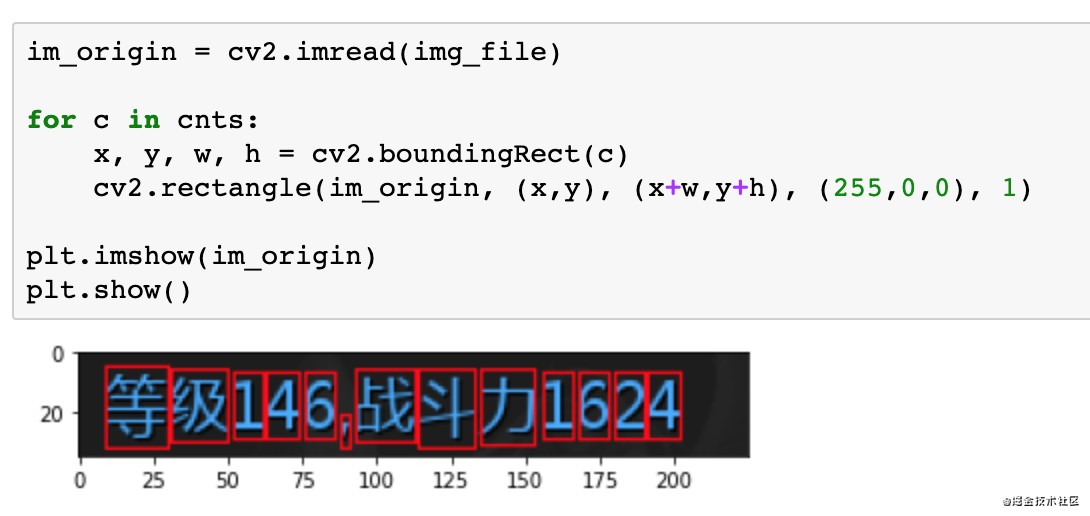
外接矩形
对于轮廓我们可以做外接矩形,这里可以看下外接矩形的效果。
过滤字符
这里过滤字符的原理其实就是将轮廓内的颜色填充成黑色。下面的代码是将高度小于15的轮廓填充成黑色。
for i, c in enumerate(cnts):
    x, y, w, h = cv2.boundingRect(c)
    if (h < 15):
        cv2.fillPoly(thresh, pts=[c], color=(0))
填充后可以看到标点符号就没了。
字符分割
因为图像是个矩阵,最后字符分割就是使用切片进行分割。
for c in cnts:
    x, y, w, h = cv2.boundingRect(c)
    if (h < 15):
        continue
    cropImg = thresh[y:y+h, x:x+w]
    plt.imshow(cropImg)
    plt.show()
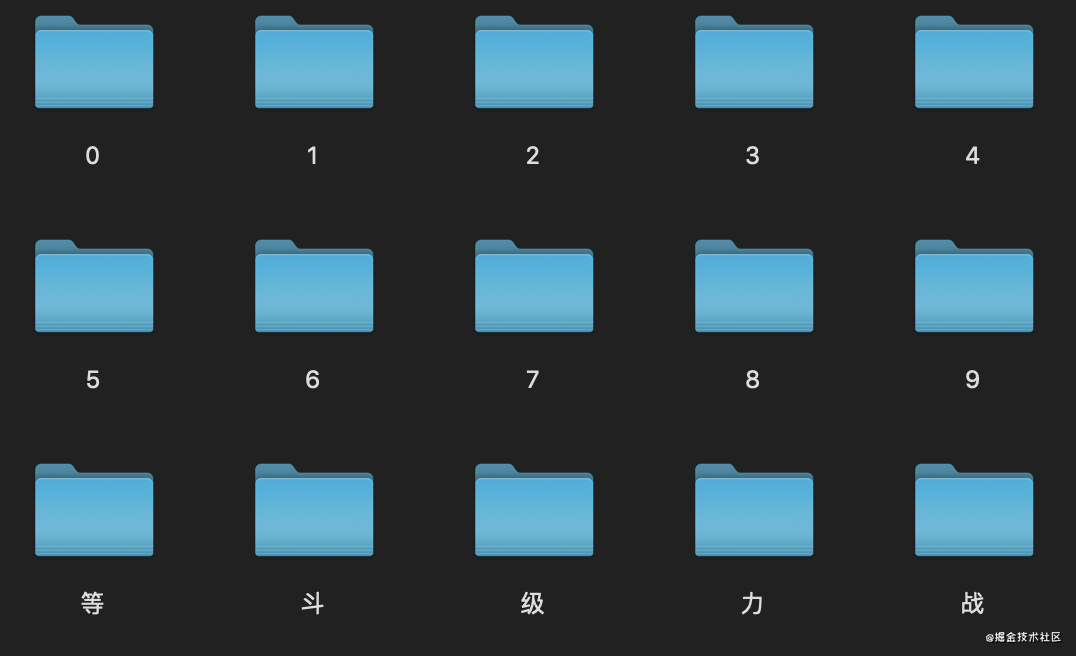
构造数据集
最后我们创建数据集进行标注,就是把上面的都串起来,然后将分割后的图片保存到文件夹里,并且完成标注。
import cv2
import numpy as np
import imutils
from matplotlib import pyplot as plt
import uuid


def split_letters(im):
    # 2值化
    thresh = cv2.threshold(im, 100, 255, cv2.THRESH_BINARY)[1]
    # 纵向膨胀
    kernel = np.ones((7, 1), np.uint8)
    dilation = cv2.dilate(thresh, kernel, iterations=1)
    # 找轮廓
    cnts = cv2.findContours(dilation.copy(), cv2.RETR_EXTERNAL, cv2.CHAIN_APPROX_SIMPLE)
    cnts = imutils.grab_contours(cnts)

    # 过滤太小的
    for i, c in enumerate(cnts):
        x, y, w, h = cv2.boundingRect(c)
        if h < 15:
            cv2.fillPoly(thresh, pts=[c], color=(0))

    # 分割
    char_list = []
    for c in cnts:
        x, y, w, h = cv2.boundingRect(c)
        if h < 15:
            continue
        cropImg = thresh[y:y + h, x:x + w]
        char_list.append((x, cropImg))
    return char_list


for i in range(1, 10):
    im = cv2.imread(f"test{i}.png", 0)

    for ch in split_letters(im):
        print(ch[0])
        filename = f"ocr_datas/{str(uuid.uuid4())}.png"
        cv2.imwrite(filename, ch[1])
向量搜索(分类)
向量搜索其实就是个最近邻搜索的问题,我们可以使用sklearn中的KNeighborsClassifier。
训练模型代码如下:
import os
import numpy as np
from sklearn.neighbors import KNeighborsClassifier
import cv2
import pickle
import json

max_height = 30
max_width = 30


def make_im_template(im):
    template = np.zeros((max_height, max_width))
    offset_height = int((max_height - im.shape[0]) / 2)
    offset_width = int((max_width - im.shape[1]) / 2)
    template[offset_height:offset_height + im.shape[0], offset_width:offset_width + im.shape[1]] = im
    return template

label2index = {}
index2label = {}
X = []
y = []
index = 0
for _dir in os.listdir("ocr_datas"):
    new_dir = "ocr_datas/" + _dir
    if os.path.isdir(new_dir):
        label2index[_dir] = index
        index2label[index] = _dir
        for filename in os.listdir(new_dir):
            if filename.endswith("png"):
                im = cv2.imread(new_dir + "/" + filename, 0)
                tpl = make_im_template(im)  # 生成固定模板
                tpl = tpl / 255  # 归一化
                X.append(tpl.reshape(max_height*max_width))
                y.append(index)
        index += 1

print(label2index)
print(index2label)

model = KNeighborsClassifier(n_neighbors=1)
model.fit(X, y)

with open("simple_ocr.pickle", "wb") as f:
    pickle.dump(model, f)


with open("simple_index2label.json", "w") as f:
    json.dump(index2label, f)
这里有一点值得说的是如何构建图片的向量,我们分隔的图片的长和宽是不固定的,这里首先需要使用一个模型,将分隔后的图片放置到模板的中央。然后将模型转换为一维向量,当然还可以做一个归一化。
生成结果
最后生成结果就是还是先分割一遍,然后转换为向量,调用KNeighborsClassifier模型,找到最匹配的一个作为结果。当然这是识别一个字符的结果,我们还需要根据分割的位置进行一个排序,才能得到最后的结果。
import cv2
import numpy as np
import imutils
from sklearn.neighbors import KNeighborsClassifier
import pickle
import json


with open("simple_ocr.pickle", "rb") as f:
    model = pickle.load(f)

with open("simple_ocr_index2label.json", "r") as f:
    index2label = json.load(f)

max_height = 30
max_width = 30


def make_im_template(im):
    template = np.zeros((max_height, max_width))
    offset_height = int((max_height - im.shape[0]) / 2)
    offset_width = int((max_width - im.shape[1]) / 2)
    template[offset_height:offset_height + im.shape[0], offset_width:offset_width + im.shape[1]] = im
    return template.reshape(max_height*max_width)


def split_letters(im):
    # 2值化
    thresh = cv2.threshold(im, 100, 255, cv2.THRESH_BINARY)[1]
    # 纵向膨胀
    kernel = np.ones((7, 1), np.uint8)
    dilation = cv2.dilate(thresh, kernel, iterations=1)
    # 找轮廓
    cnts = cv2.findContours(dilation.copy(), cv2.RETR_EXTERNAL, cv2.CHAIN_APPROX_SIMPLE)
    cnts = imutils.grab_contours(cnts)

    # 过滤太小的
    for i, c in enumerate(cnts):
        x, y, w, h = cv2.boundingRect(c)
        if h < 15:
            cv2.fillPoly(thresh, pts=[c], color=(0))

    # 分割
    char_list = []
    for c in cnts:
        x, y, w, h = cv2.boundingRect(c)
        if h < 15:
            continue
        cropImg = thresh[y:y + h, x:x + w]
        char_list.append((x, cropImg))
    return char_list


def ocr_recognize(fname):
    im = cv2.imread(fname, 0)
    char_list = split_letters(im)

    result = []
    for ch in char_list:
        res = model.predict([make_im_template(ch[1])])[0]  # 识别单个结果
        result.append({
            "x": ch[0],
            "label": index2label[str(res)]
        })
    result.sort(key=lambda k: (k.get('x', 0)), reverse=False) # 因为是单行的,所以只需要通过x坐标进行排序。

    return "".join([it["label"] for it in result])


print(ocr_recognize("test1.png"))
以上就是python 如何做一个识别率百分百的OCR的详细内容,更多关于python 做一个OCR的资料请关注自学编程网其它相关文章!

- 本文固定链接: https://www.zxbcw.cn/post/213602/
- 转载请注明:必须在正文中标注并保留原文链接
- QQ群: PHP高手阵营官方总群(344148542)
- QQ群: Yii2.0开发(304864863)