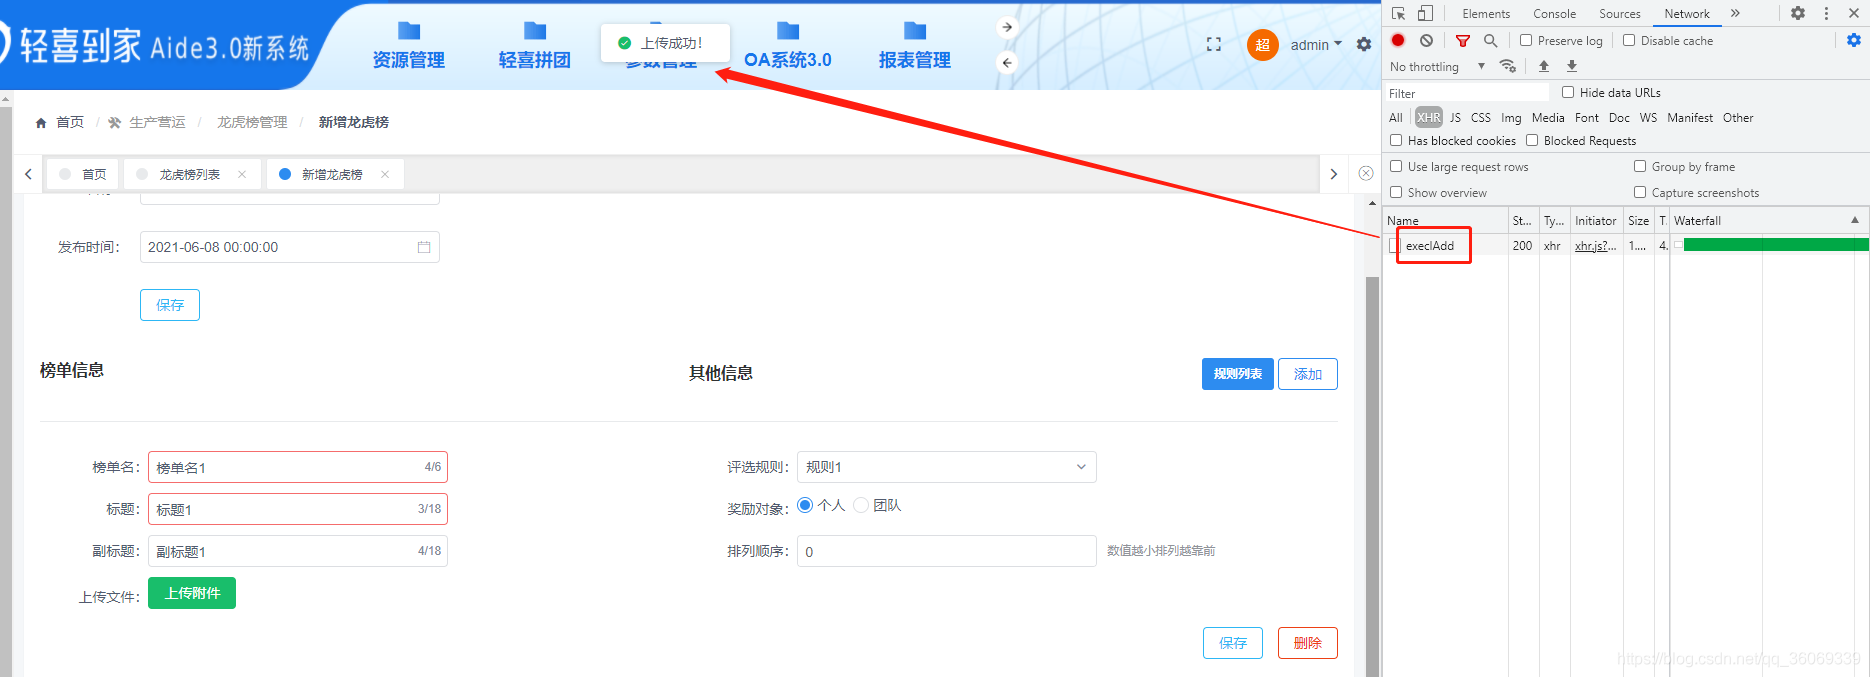
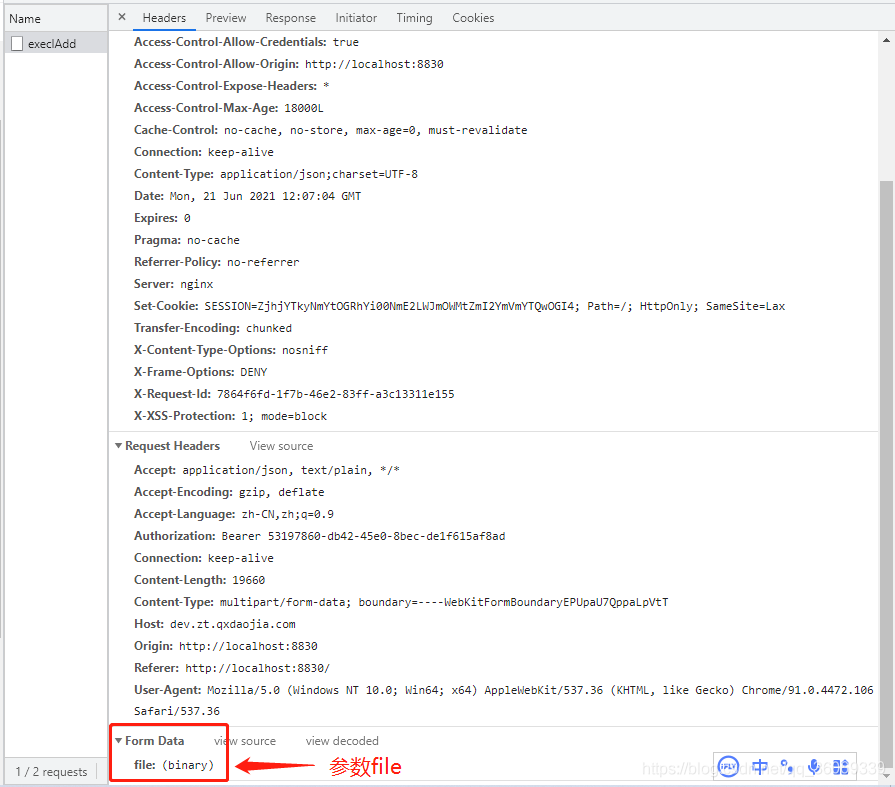
1、HTML部分
<Col span="2">上传文件:</Col>
<Col span="22" class="uploadExcelBox">
    <Upload ref="uploadExcel" :loading="uploadLoading" :action="uploadFileUrl" accept="xlsx,xls" :format="uploadFormat" :before-upload="beforeImgFile" :on-success="successImgFile" :on-error="errorImgFile" :show-upload-list="true">
         <Button type="success">上传附件</Button>
	 </Upload>
     <div v-if="uploadingFile !== null">待上传文件:
          <span class="blueFont">{{ fileName }}</span>
          <Button @click="uploadFun(index)" :loading="loadingStatus" class="manualUploadBtn">{{ loadingStatus ? '上传中...' : '点击开始上传' }}</Button>
      </div>
</Col>
2、JS部分
<script>
    // import excel from '@/libs/excel'
	import service from '@/libs/request' //用来取当前域名
	import reportFormApi from '@/api/reportForm'
    export default {
        data() {
            return {
                uploadLoading:false,//上传控件loading状态
				uploadFileUrl: "",
				uploadFormat:['xlsx','xls'],
				uploadingFile:null,//待上传的文件
                loadingStatus:false,//upload组件的状态
                fileName:"",//待上传文件的名称
            }
        },
        mounted() {
            this.uploadFileUrl = service.apiUrl + "/qingximaster/winInfo/execlAdd";//上传Excel的接口路径,后端人员提供。
        },
        methods: {
			// 图片上传之前
			beforeImgFile(file) {
				// console.log(file);
				const fileExt = file.name.split('.').pop().toLocaleLowerCase()
				if (fileExt === 'xlsx' || fileExt === 'xls') {
					var formdata = new FormData();
					formdata.append("file",file);
                    this.fileName = formdata.get('file').name;//通过formdata.get('file')方法,可以取file文件里的信息,例如Excel的文件名。
					this.uploadingFile =  formdata;//注意:这个将作为参数传给接口实现上传。传给接口的file不需要 formdata.get('file'),直接传file。
				} else {
					this.$Notice.warning({
						title: '文件类型错误',
						desc: '文件:' + file.name + '不是EXCEL文件,请选择后缀为.xlsx或者.xls的EXCEL文件。'
					})
				}
				return false
			},
			// 上传成功
			successImgFile(response, file, fileList) {
                this.$Notice.success({
                    title: '提示',
                    desc: '上传成功!'
                })
			},
			// 上传失败
			errorImgFile(error, file, fileList) {
				this.$Notice.success({
                    title: '提示',
                    desc: '上传失败!'
                })
				console.log(error);
			},
			uploadFun(index){//调接口上传Excel
				this.loadingStatus = true;
				reportFormApi.uploadExcel({
                    url: this.uploadFileUrl,
                    file: this.uploadingFile
                }).then(res =>{
					this.uploadingFile = null;
                    this.fileName = "";
                    if(res.code==0){
                        this.infoList[index].content = JSON.stringify(res.data);
					    // console.log(this.infoList[index].content);
                        this.$Message.success("上传成功!");
                    }else{
                        this.$Message.error(res.message);
                    }
				}).finally(()=>{
					this.loadingStatus = false;
                    this.uploadLoading = false;
                })
			},
        }
    }
3、页面效果如下
(1)进入页面默认展示的样子

(2)选中要上传的Excel

(3)“点击开始上传”之后


以上就是Vue + iView实现Excel上传的详细内容,更多关于vue iview excel上传的资料请关注自学编程网其它相关文章!

- 本文固定链接: https://zxbcw.cn/post/215545/
- 转载请注明:必须在正文中标注并保留原文链接
- QQ群: PHP高手阵营官方总群(344148542)
- QQ群: Yii2.0开发(304864863)
