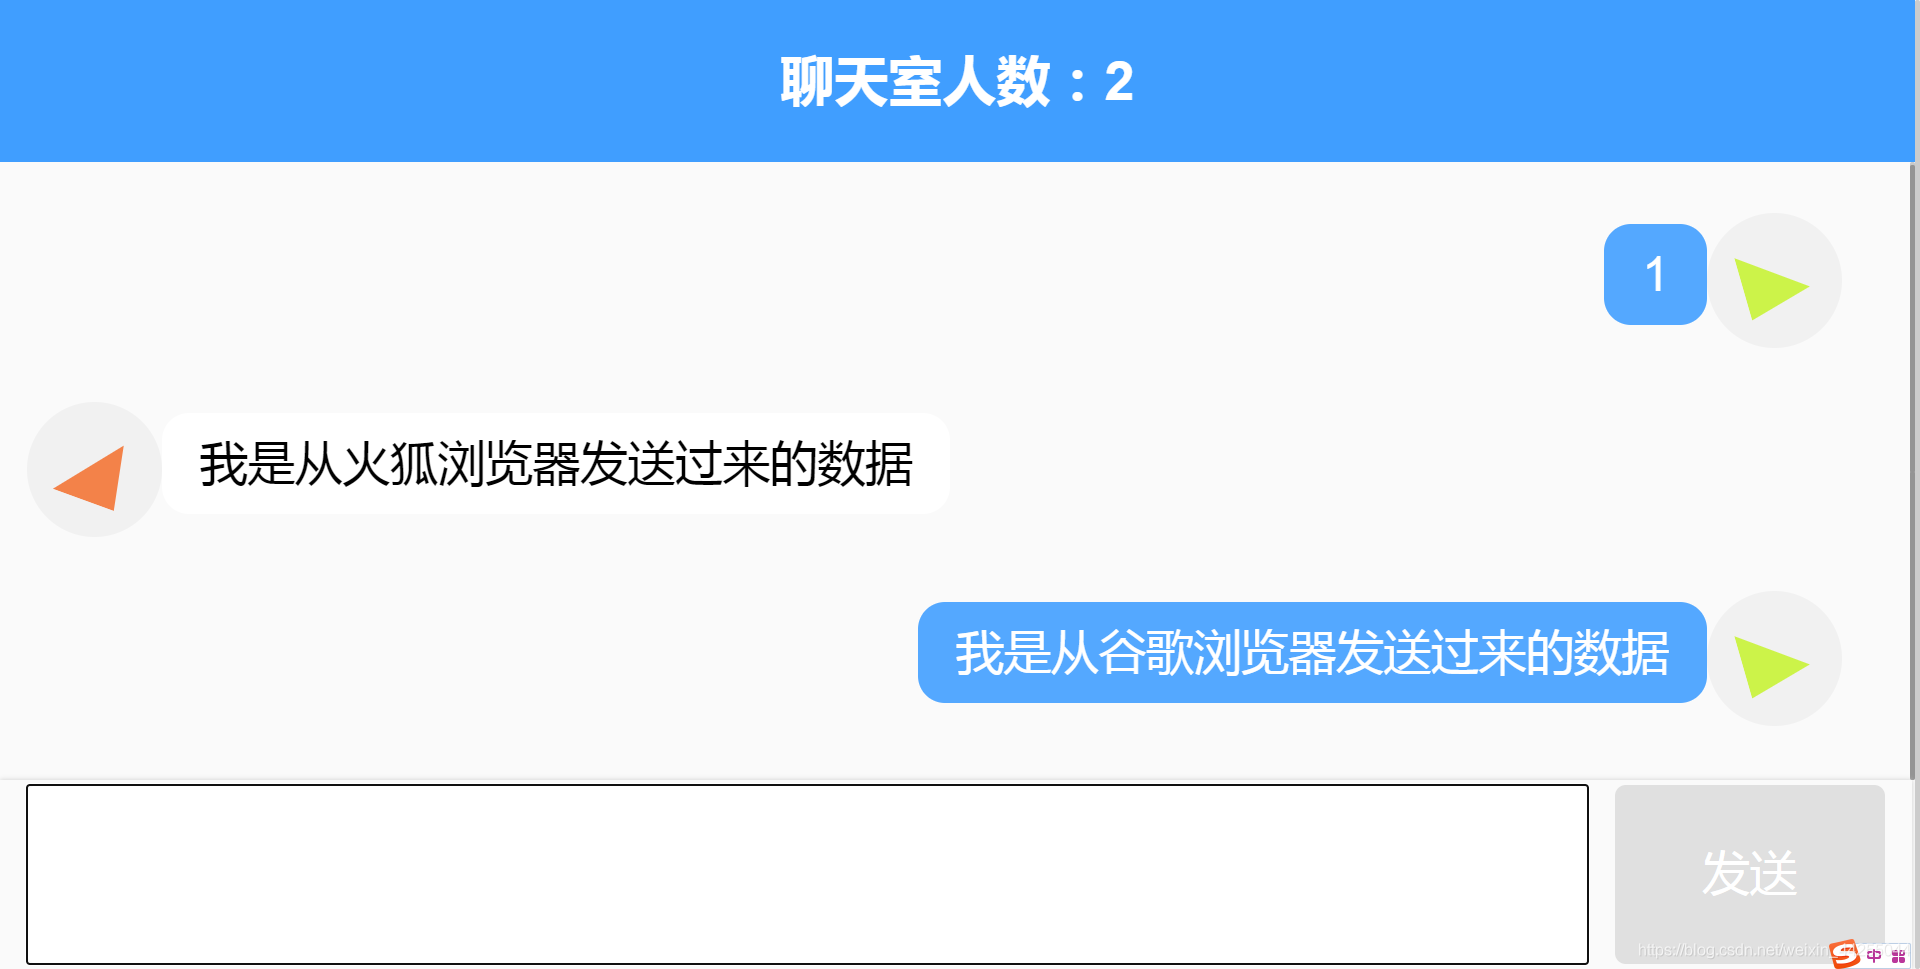
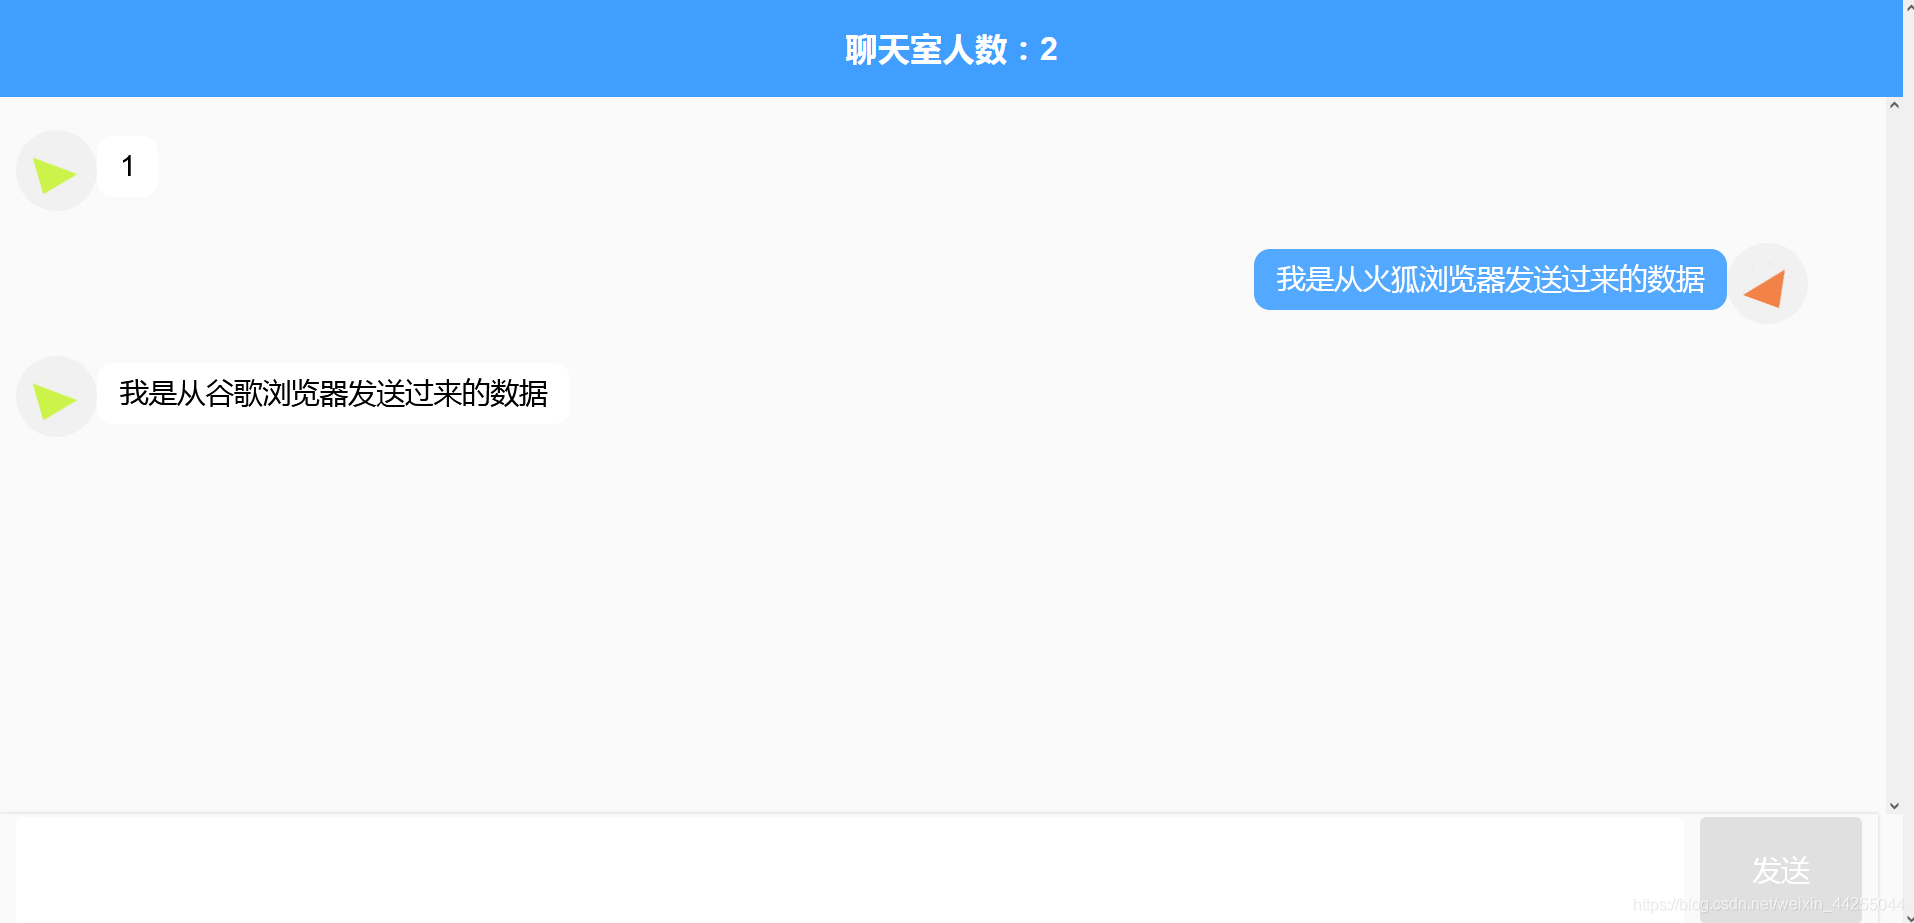
效果展示 两个浏览器相互模拟


1.创建模拟node服务
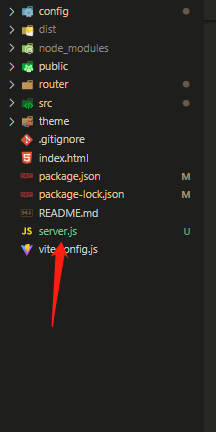
在vue根目录下创建 server.js 文件模拟后端服务器

**在server终端目录下载 **
npm install --s ws
2.编写server.js文件
代码如下
var userNum = 0; //统计在线人数
var chatList = [];//记录聊天记录
var WebSocketServer = require('ws').Server;
wss = new WebSocketServer({ port: 8181 }); //8181 与前端相对应
//调用 broadcast 广播,实现数据互通和实时更新
wss.broadcast = function (msg) {
    wss.clients.forEach(function each(client) {
        client.send(msg);
    });
};
wss.on('connection', function (ws) {
    userNum++;//建立连接成功在线人数 +1
    wss.broadcast(JSON.stringify({ funName: 'userCount', users: userNum, chat: chatList })); //建立连接成功广播一次当前在线人数
    console.log('Connected clients:', userNum);
    //接收前端发送过来的数据
    ws.on('message', function (e) {
        var resData = JSON.parse(e)
        console.log('接收到来自clent的消息:' + resData.msg)
        chatList.push({ userId: resData.userId, content: resData.msg });//每次发送信息,都会把信息存起来,然后通过广播传递出去,这样此每次进来的用户就能看到之前的数据
        wss.broadcast(JSON.stringify({ userId: resData.userId, msg: resData.msg })); //每次发送都相当于广播一次消息

    });
    ws.on('close', function (e) {
        userNum--;//建立连接关闭在线人数 -1
        wss.broadcast(JSON.stringify({ funName: 'userCount', users: userNum, chat: chatList }));//建立连接关闭广播一次当前在线人数
        console.log('Connected clients:', userNum);
        console.log('长连接已关闭')
    })
})
console.log('服务器创建成功')
然后npm run start启动服务器
3.vue前端页面
代码如下
<template>
  <div class="chat-box">
    <header>聊天室人数:{{count}}</header>
    <div class="msg-box" ref="msg-box">
      <div
        v-for="(i,index) in list"
        :key="index"
        class="msg"
        :style="i.userId == userId?'flex-direction:row-reverse':''"
      >
        <div class="user-head">
          <div
            class="head"
            :style="` background: hsl(${getUserHead(i.userId,'bck')}, 88%, 62%); clip-path:polygon(${getUserHead(i.userId,'polygon')}% 0,100% 100%,0% 100%); transform: rotate(${getUserHead(i.userId,'rotate')}deg)`"
          ></div>
        </div>
        <div class="user-msg">
          <span
            :style="i.userId == userId?'float: right':''"
            :class="i.userId == userId?'right':'left'"
          >{{i.content}}</span>
        </div>
      </div>
    </div>
    <div class="input-box">
      <input type="text" ref="sendMsg" v-model="contentText" @keyup.enter="sendText()" />
      <div class="btn" :class="{['btn-active']:contentText}" @click="sendText()">发送</div>
    </div>
  </div>
</template>

<script>
export default {
  data() {
    return {
      ws: null,
      count: 0,
      userId: null, //当前用户ID
      list: [], //聊天记录的数组
      contentText: "", //input输入的值
    };
  },
  created() {
    this.getUserID();
  },
  mounted() {
    this.initWebSocket();
  },
  methods: {
    //根据时间戳作为当前用户ID
    getUserID() {
      let time = new Date().getTime();
      this.userId = time;
    },
    //根据userID生成一个随机头像
    getUserHead(id, type) {
      let ID = String(id);
      if (type == "bck") {
        return Number(ID.substring(ID.length - 3));
      }
      if (type == "polygon") {
        return Number(ID.substring(ID.length - 2));
      }
      if (type == "rotate") {
        return Number(ID.substring(ID.length - 3));
      }
    },
    //滚动条到底部
    scrollBottm() {
      let el = this.$refs["msg-box"];
      el.scrollTop = el.scrollHeight;
    },
    //发送聊天信息
    sendText() {
      let _this = this;
      _this.$refs["sendMsg"].focus();
      if (!_this.contentText) {
        return;
      }
      let params = {
        userId: _this.userId,
        msg: _this.contentText,
      };
      _this.ws.send(JSON.stringify(params)); //调用WebSocket send()发送信息的方法
      _this.contentText = "";
      setTimeout(() => {
        _this.scrollBottm();
      }, 500);
    },
    //进入页面创建websocket连接
    initWebSocket() {
      let _this = this;
      //判断页面有没有存在websocket连接
      if (window.WebSocket) {
        // 此处的 :8181 端口号 要与后端配置的一致
        let ws = new WebSocket("ws://192.168.5.42:9502");
        // let ws = new WebSocket("ws://192.168.5.8:8181"); //这里是我本地测试
        _this.ws = ws;
        ws.onopen = function (e) {
          console.log("服务器连接成功");
        };
        ws.onclose = function (e) {
          console.log("服务器连接关闭");
        };
        ws.onerror = function () {
          console.log("服务器连接出错");
        };
        ws.onmessage = function (e) {
          //接收服务器返回的数据
          let resData = JSON.parse(e.data);
          if (resData.funName == "userCount") {
            _this.count = resData.users;
            _this.list = resData.chat;
          } else {
            _this.list = [
              ..._this.list,
              { userId: resData.userId, content: resData.msg },
            ];
          }
        };
      }
    },
  },
};
</script>

<style lang="scss" scoped>
.chat-box {
  margin: 0 auto;
  background: #fafafa;
  position: absolute;
  height: 100%;
  width: 100%;
  // max-width: 700px;
  header {
    position: fixed;
    width: 100%;
    height: 3rem;
    background: #409eff;
    // max-width: 700px;
    display: flex;
    justify-content: center;
    align-items: center;
    font-weight: bold;
    color: white;
    font-size: 1rem;
  }
  .msg-box {
    position: absolute;
    height: calc(100% - 6.5rem);
    width: 100%;
    margin-top: 3rem;
    overflow-y: scroll;
    .msg {
      width: 95%;
      min-height: 2.5rem;
      margin: 1rem 0.5rem;
      position: relative;
      display: flex;
      justify-content: flex-start !important;
      .user-head {
        min-width: 2.5rem;
        width: 20%;
        width: 2.5rem;
        height: 2.5rem;
        border-radius: 50%;
        background: #f1f1f1;
        display: flex;
        justify-content: center;
        align-items: center;
        .head {
          width: 1.2rem;
          height: 1.2rem;
        }
        // position: absolute;
      }
      .user-msg {
        width: 80%;
        // position: absolute;
        word-break: break-all;
        position: relative;
        z-index: 5;
        span {
          display: inline-block;
          padding: 0.5rem 0.7rem;
          border-radius: 0.5rem;
          margin-top: 0.2rem;
          font-size: 0.88rem;
        }
        .left {
          background: white;
          animation: toLeft 0.5s ease both 1;
        }
        .right {
          background: #53a8ff;
          color: white;
          animation: toright 0.5s ease both 1;
        }
        @keyframes toLeft {
          0% {
            opacity: 0;
            transform: translateX(-10px);
          }
          100% {
            opacity: 1;
            transform: translateX(0px);
          }
        }
        @keyframes toright {
          0% {
            opacity: 0;
            transform: translateX(10px);
          }
          100% {
            opacity: 1;
            transform: translateX(0px);
          }
        }
      }
    }
  }
  .input-box {
    padding: 0 0.5rem;
    position: absolute;
    bottom: 0;
    width: 97%;
    height: 3.5rem;
    background: #fafafa;
    box-shadow: 0 0 5px #ccc;
    display: flex;
    justify-content: space-between;
    align-items: center;
    input {
      height: 2.3rem;
      display: inline-block;
      width: 100%;
      padding: 0.5rem;
      border: none;
      border-radius: 0.2rem;
      font-size: 0.88rem;
    }
    .btn {
      height: 2.3rem;
      min-width: 4rem;
      background: #e0e0e0;
      padding: 0.5rem;
      font-size: 0.88rem;
      color: white;
      text-align: center;
      border-radius: 0.2rem;
      margin-left: 0.5rem;
      transition: 0.5s;
      line-height: 2.3rem;
    }
    .btn-active {
      background: #409eff;
    }
  }
}
</style>
- 然后npm run dev,就可以实现局域网聊天了,有无线的话可以用手机连着无线访问你的IP地址访问,没的话可以试下多开几个窗口,也是能看到效果的!!
- 进入聊天室时和发送信息时服务器的打印日志

到此这篇关于vue使用WebSocket模拟实现聊天功能的文章就介绍到这了,更多相关vue使用WebSocket实现聊天内容请搜索自学编程网以前的文章或继续浏览下面的相关文章希望大家以后多多支持自学编程网!

- 本文固定链接: https://zxbcw.cn/post/219464/
- 转载请注明:必须在正文中标注并保留原文链接
- QQ群: PHP高手阵营官方总群(344148542)
- QQ群: Yii2.0开发(304864863)
