本文实例为大家分享了JavaScript实现轮播图特效的具体代码,供大家参考,具体内容如下
<!DOCTYPE html>
<html>
<head>
<meta charset="utf-8">
<title></title>
<style type="text/css">
.aaa {
width: 600px;
height: 350px;
position: relative;/*相对定位*/
margin: 50px auto;/*离顶部50px,并且居中*/
}
.picture img {
position: absolute;/*绝对定位*/
}
.dot {
position: absolute;
bottom: 5px;
}
.dot li {
float: left;
width: 16px;
height: 16px;
background-color: #e8e8e8;
border-radius: 50%;
list-style: none;/*清除列表样式*/
margin-right: 10px;
cursor: pointer;/*光标呈现为指示链接的指针(一只手)*/
}
.left {
width: 30px;
height: 30px;
position: absolute;
top: 169px;
text-align: center;
background-color: #000000;
line-height: 30px;
color: #FFFFFF;
cursor: pointer;/*光标呈现为指示链接的指针(一只手)*/
}
.right {
width: 30px;
height: 30px;
position: absolute;
top: 169px;
right: 0;
text-align: center;
background-color: #000000;
line-height: 30px;
color: #FFFFFF;
cursor: pointer;/*光标呈现为指示链接的指针(一只手)*/
}
.aaa .spot {
background-color: #FF0000;
}
</style>
</head>
<body>
<div class="aaa">
<div class="picture">
<img src="images/1.jpg" style="width: 600px;height: 350px;">
<img src="images/2.jpg" style="width: 600px;height: 350px;">
<img src="images/3.jpg" style="width: 600px;height: 350px;">
<img src="images/4.jpg" style="width: 600px;height: 350px;">
<img src="images/5.jpg" style="width: 600px;height: 350px;">
</div>
<ul class="dot">
<li class="spot"></li>
<li></li>
<li></li>
<li></li>
<li></li>
</ul>
<div class="left"><</div><!--< 转义字符 -->
<div class="right">></div><!--> 转义字符 -->
</div>
<script>
var lis = document.querySelectorAll(".dot li")
var picture = document.querySelectorAll(".picture img")
var left = document.querySelector(".left")
var right = document.querySelector(".right")
var aaa = document.querySelector(".aaa")
var index = 0 //设置索引号变量
picture[index].style.opacity = 1 //第一张图片显示出来
//右按钮换图
right.onclick = function() {
fn("+")
}
//左按钮换图
left.onclick = function() {
fn("-")
}
//定时器换图,每隔3000毫秒换图
var timer = setInterval(function() {
fn("+")
}, 3000)
//鼠标进入暂停
aaa.onmouseover = function() {
clearInterval(timer)
}
//鼠标离开继续
aaa.onmouseout = function() {
timer = setInterval(function() {
fn("+")
}, 3000)
}
//鼠标触碰小点换图
for (var i = 0; i < lis.length; i++) {
lis[i].in = i
lis[i].onmouseover = function() {
fn(this.in)
}
}
//函数
function fn(ope) {
picture[index].style.opacity = 0 //上一张图片隐藏
lis[index].className = "" //清除小点样式
//判断ope
if (typeof ope === 'number') {
index = ope
} else if (ope === '+') { //判断是否右按钮
if (index === 4) {
index = 0
} else {
index++
}
} else {
if (index === 0) { //判断是否左按钮
index = 4
} else {
index--
}
}
picture[index].style.opacity = 1 //当前图片显示
lis[index].className = "spot" //给小点加上样式
}
</script>
</body>
</html>
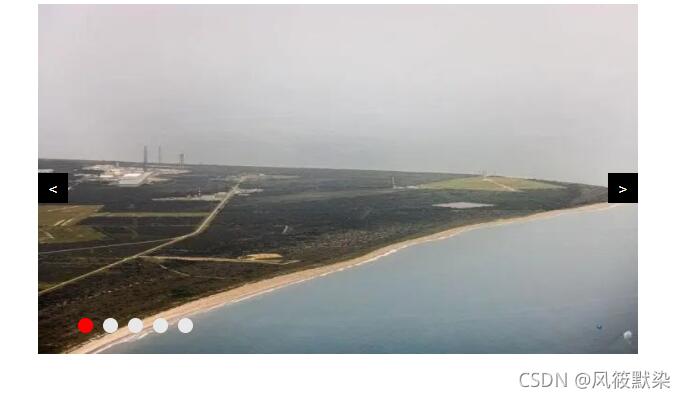
效果如图所示:

以上就是本文的全部内容,希望对大家的学习有所帮助,也希望大家多多支持自学编程网。

- 本文固定链接: https://zxbcw.cn/post/221564/
- 转载请注明:必须在正文中标注并保留原文链接
- QQ群: PHP高手阵营官方总群(344148542)
- QQ群: Yii2.0开发(304864863)
