
创建工程
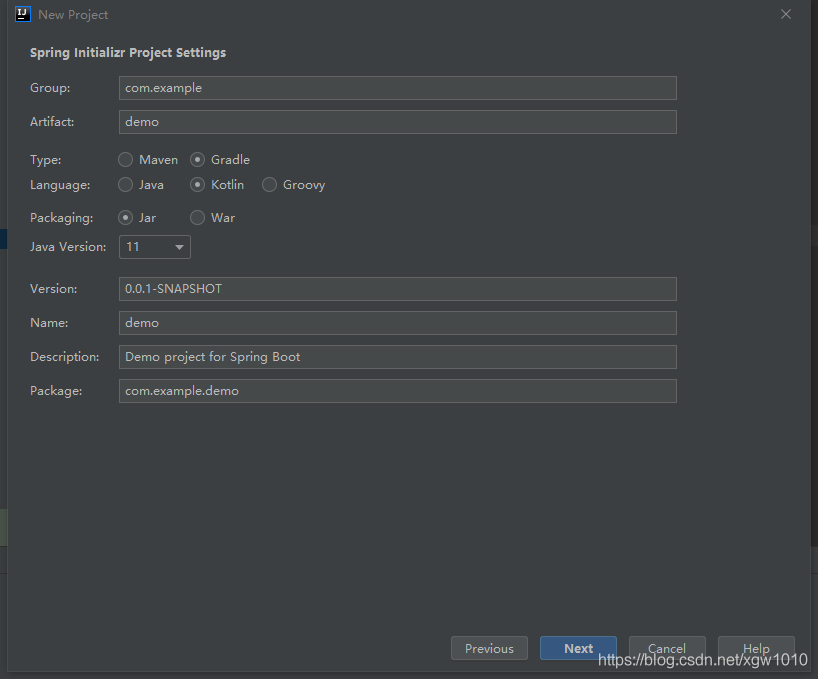
使用idea的spring initializr创建一个项目,语言选择kotlin, 类型为gradle。
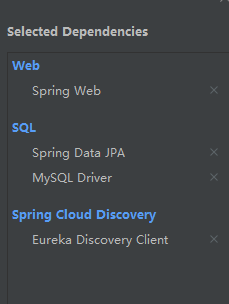
根据需要选择依赖
配置文件
yml或者properties文件和java是完全一样的,这里不详细说明
修改build.gradle.kts中的参数:
plugins {
	//spring boot版本
	id("org.springframework.boot") version "2.3.3.RELEASE"
	//自动依赖包版本管理
	id("io.spring.dependency-management") version "1.0.10.RELEASE"
	...
}
//spring cloud 版本
extra["springCloudVersion"] = "Hoxton.SR8"

repositories {
    //本地maven
	maven {
		url = uri("http://192.168.1.150:8081/repository/maven-public/")
		credentials {
			username = "admin"
			password = "admin"
		}
	}
	maven { url = uri("https://repo.spring.io/milestone") }
	jcenter {
		content {
			// just allow to include kotlinx projects
			// detekt needs 'kotlinx-html' for the html report
			includeGroup("org.jetbrains.kotlinx")
		}
	}
}
...
Application
/**
 * 商品服务
 */
@SpringBootApplication
class ProductApplication

/**
 * 程序入口
 */
fun main(args: Array<String>) {
	runApplication<ProductApplication>(*args)
}
这是自动生成程序入口,不用修改
编写controller
@RestController
@RequestMapping("v2/test")
class SpuManagerController(val xService: XService) {

    @PostMapping("")
    fun addSpu(@RequestBody addXxVO: AddXxVO):Long{
        return xrService.addX(addXxVO)
    }

}
这是一个controller,通过构造函数注入依赖。
JPA
实体类:
@Entity(name = "table_name")
@DynamicInsert //不插入null
@DynamicUpdate
class XxPO(
            var code:String,
            var name:String,
            var createDate:Date?=null,
            var updatedDate: Date?=null,
            @Id @GeneratedValue(strategy = GenerationType.IDENTITY) var id:Long?=null)
Repository:
interface XxRepository :CrudRepository<SpuPO,Long>
由于没有自定义的方法,直接定义一个接口即可。
Service
略
单元测试
@SpringBootTest
@AutoConfigureMockMvc
@Transactional
class SpuManagerControllerTests @Autowired constructor(val mockMvc: MockMvc,
                                                       val xxRepository : XxRepository ) {
    @Test
    fun testAddSpu() {
        val vo= AddXxVO("test_code", "test_name")
        mockMvc.perform(
                MockMvcRequestBuilders.post("/v2/test")
                        .contentType(MediaType.APPLICATION_JSON)
                        .content(JSON.toJSONString(vo))
        ).andExpect {
            status().is2xxSuccessful
        }
        .andReturn()
        .response
        .contentAsString
        .apply {
            val id = this.toLong()
            val result = xxRepository .findById(id)
            assert(result.isPresent)

        }

    }
}
注意 @Test对应的类是
org.junit.jupiter.api.Test
到此这篇关于使用kotlin编写spring cloud微服务的文章就介绍到这了,更多相关kotlin spring cloud微服务内容请搜索自学编程网以前的文章或继续浏览下面的相关文章希望大家以后多多支持自学编程网!

- 本文固定链接: https://zxbcw.cn/post/221679/
- 转载请注明:必须在正文中标注并保留原文链接
- QQ群: PHP高手阵营官方总群(344148542)
- QQ群: Yii2.0开发(304864863)