
第一步:创建一个Activity
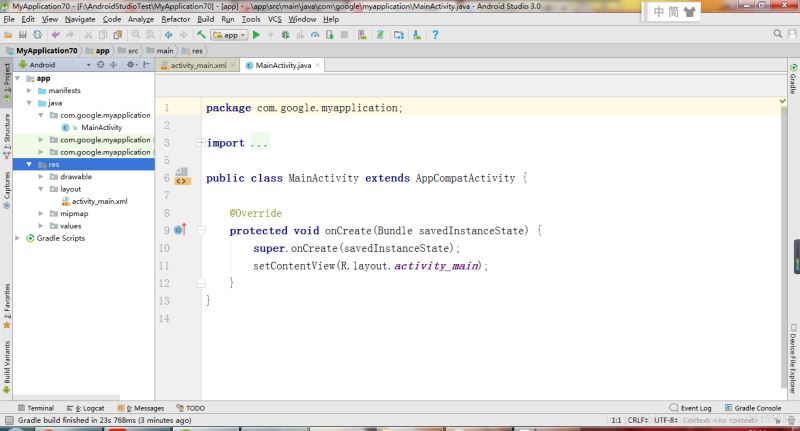
第二步:创建一个新的Activity 命名为Splash
new -> Activity -> Empty Activity

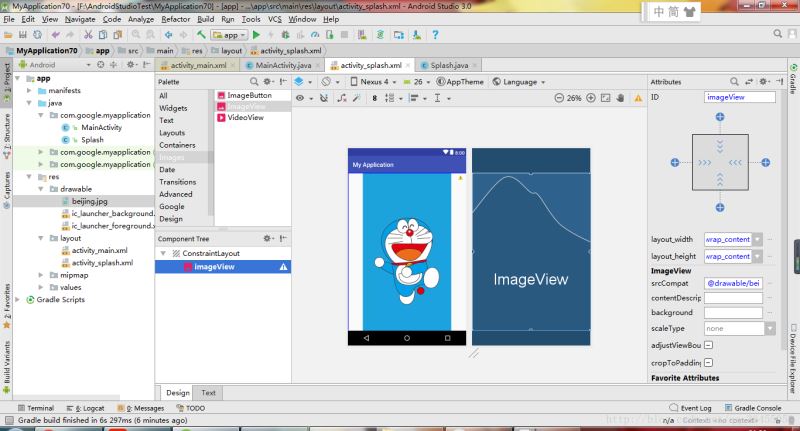
p>第三步:将准备好的启动图片放到drawable目录下,并修改Splash的xml布局文件,如下图所示
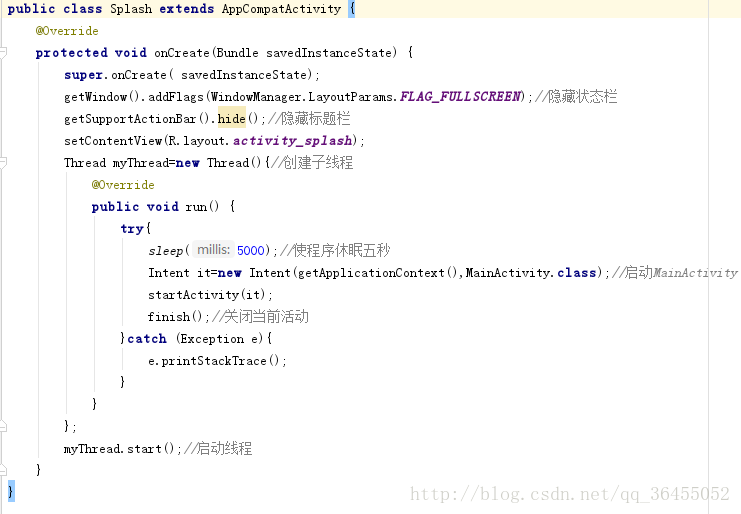
第四步:修改SplashActivity中的代码如下
import android.content.Intent;
import android.support.v7.app.AppCompatActivity;
import android.os.Bundle;
import android.view.WindowManager;
public class Splash extends AppCompatActivity {
@Override
protected void onCreate(Bundle savedInstanceState) {
 super.onCreate( savedInstanceState);
 getWindow().addFlags(WindowManager.LayoutParams.FLAG_FULLSCREEN);//隐藏状态栏
 getSupportActionBar().hide();//隐藏标题栏
 setContentView(R.layout.activity_splash);
 Thread myThread=new Thread(){//创建子线程
  @Override
  public void run() {
   try{
    sleep(5000);//使程序休眠五秒
    Intent it=new Intent(getApplicationContext(),MainActivity.class);//启动MainActivity
    startActivity(it);
    finish();//关闭当前活动
   }catch (Exception e){
    e.printStackTrace();
   }
  }
 };
 myThread.start();//启动线程
}
}
注 意
getWindow().addFlags(WindowManager.LayoutParams.FLAG_FULLSCREEN);
getSupportActionBar().hide();
需要在 setContentView(R.layout.activity_splash);
之前执行
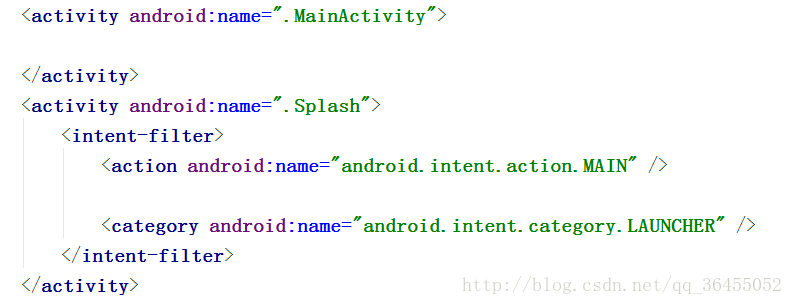
第五步:修改配置文件AndroidManifest中的代码

将上述代码的intent filter标签移动到name为.Splash的Activity标签下(将启动页面修改为SplashActivity),如下图
好了,现在大功告成了,快运行代码试试效果怎么样
总结
到此这篇关于Android App启动图启动界面(Splash)的简单实现的文章就介绍到这了,更多相关Android App启动图启动界面(Splash)的简单实现内容请搜索自学编程网以前的文章或继续浏览下面的相关文章希望大家以后多多支持自学编程网!

- 本文固定链接: https://zxbcw.cn/post/187430/
- 转载请注明:必须在正文中标注并保留原文链接
- QQ群: PHP高手阵营官方总群(344148542)
- QQ群: Yii2.0开发(304864863)