
springboot扩展MVC
自定义 config -> SpringMvcConfig.java
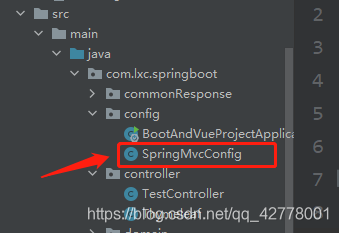
下边就是扩展springMVC的模板:
第一步:@Configuration 注解的作用:让这个类变为配置类。
第二步:必须实现 WebMvcConfigurer 接口。
第三步:重写对应的方法。
package com.lxc.springboot.config;

import org.springframework.context.annotation.Configuration;
import org.springframework.web.servlet.config.annotation.WebMvcConfigurer;

/**
 * @扩展springMVC
 * 第一步:
 * @Configuration 注解的作用:让这个类变为配置类
 * 第二步:
 * 必须实现 WebMvcConfigurer 接口
 */

@Configuration
public class SpringMvcConfig implements WebMvcConfigurer {
}
上边这个类是一个基础的模板,什么意思呢,拿controller为例,在controller控制器中,我们需要定义页面api接口,及跳转页面等功能,除了这样配置以外,还有一种配置写法就是写在自定义的SpringMvcConfig.java 中,里边核心必须给类加上@Configuration,让spring知道这个类是配置类,其次,还要实现 WebMvcConfigrer 接口,因为这个接口中有我们需要重写的功能。
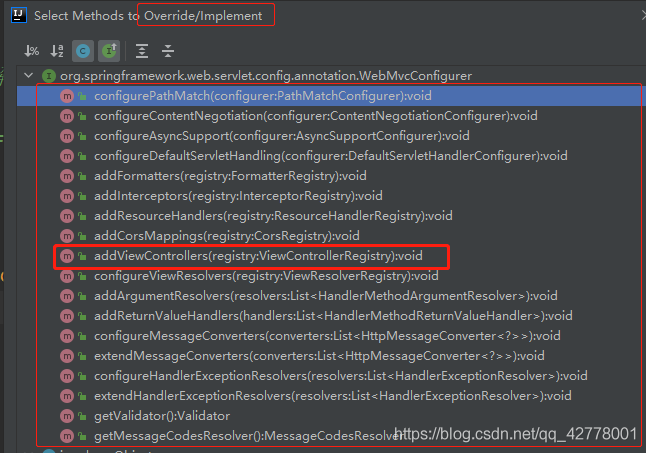
接下来,实现controller控制器的功能,前提需要重写方法,以下是所有重写的方法,根据需要来吧,我们来重写addViewContrllers方法:
package com.lxc.springboot.config;
import org.springframework.context.annotation.Configuration;
import org.springframework.web.servlet.config.annotation.ViewControllerRegistry;
import org.springframework.web.servlet.config.annotation.WebMvcConfigurer;
@Configuration
public class SpringMvcConfig implements WebMvcConfigurer {
@Override
public void addViewControllers(ViewControllerRegistry registry) {
// /viewTest:访问的路径;thymeleafPage:视图名
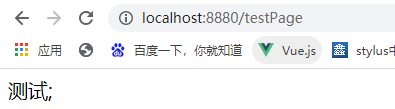
registry.addViewController("/testPage").setViewName("thymeleafPage");
}
}
thymeleafPage.html
<!DOCTYPE html>
<html xmlns:th="http://www.thymeleaf.org">
<html lang="en">
<head><meta charset="UTF-8"><title>Title</title></head>
<body>
    <div>测试;</div>
</body>
</html>
测试:
到此这篇关于springboot扩展MVC的方法的文章就介绍到这了,更多相关springboot扩展MVC内容请搜索自学编程网以前的文章或继续浏览下面的相关文章希望大家以后多多支持自学编程网!

- 本文固定链接: https://zxbcw.cn/post/216178/
- 转载请注明:必须在正文中标注并保留原文链接
- QQ群: PHP高手阵营官方总群(344148542)
- QQ群: Yii2.0开发(304864863)