
本文实例为大家分享了微信小程序实现上传图片的具体代码,供大家参考,具体内容如下
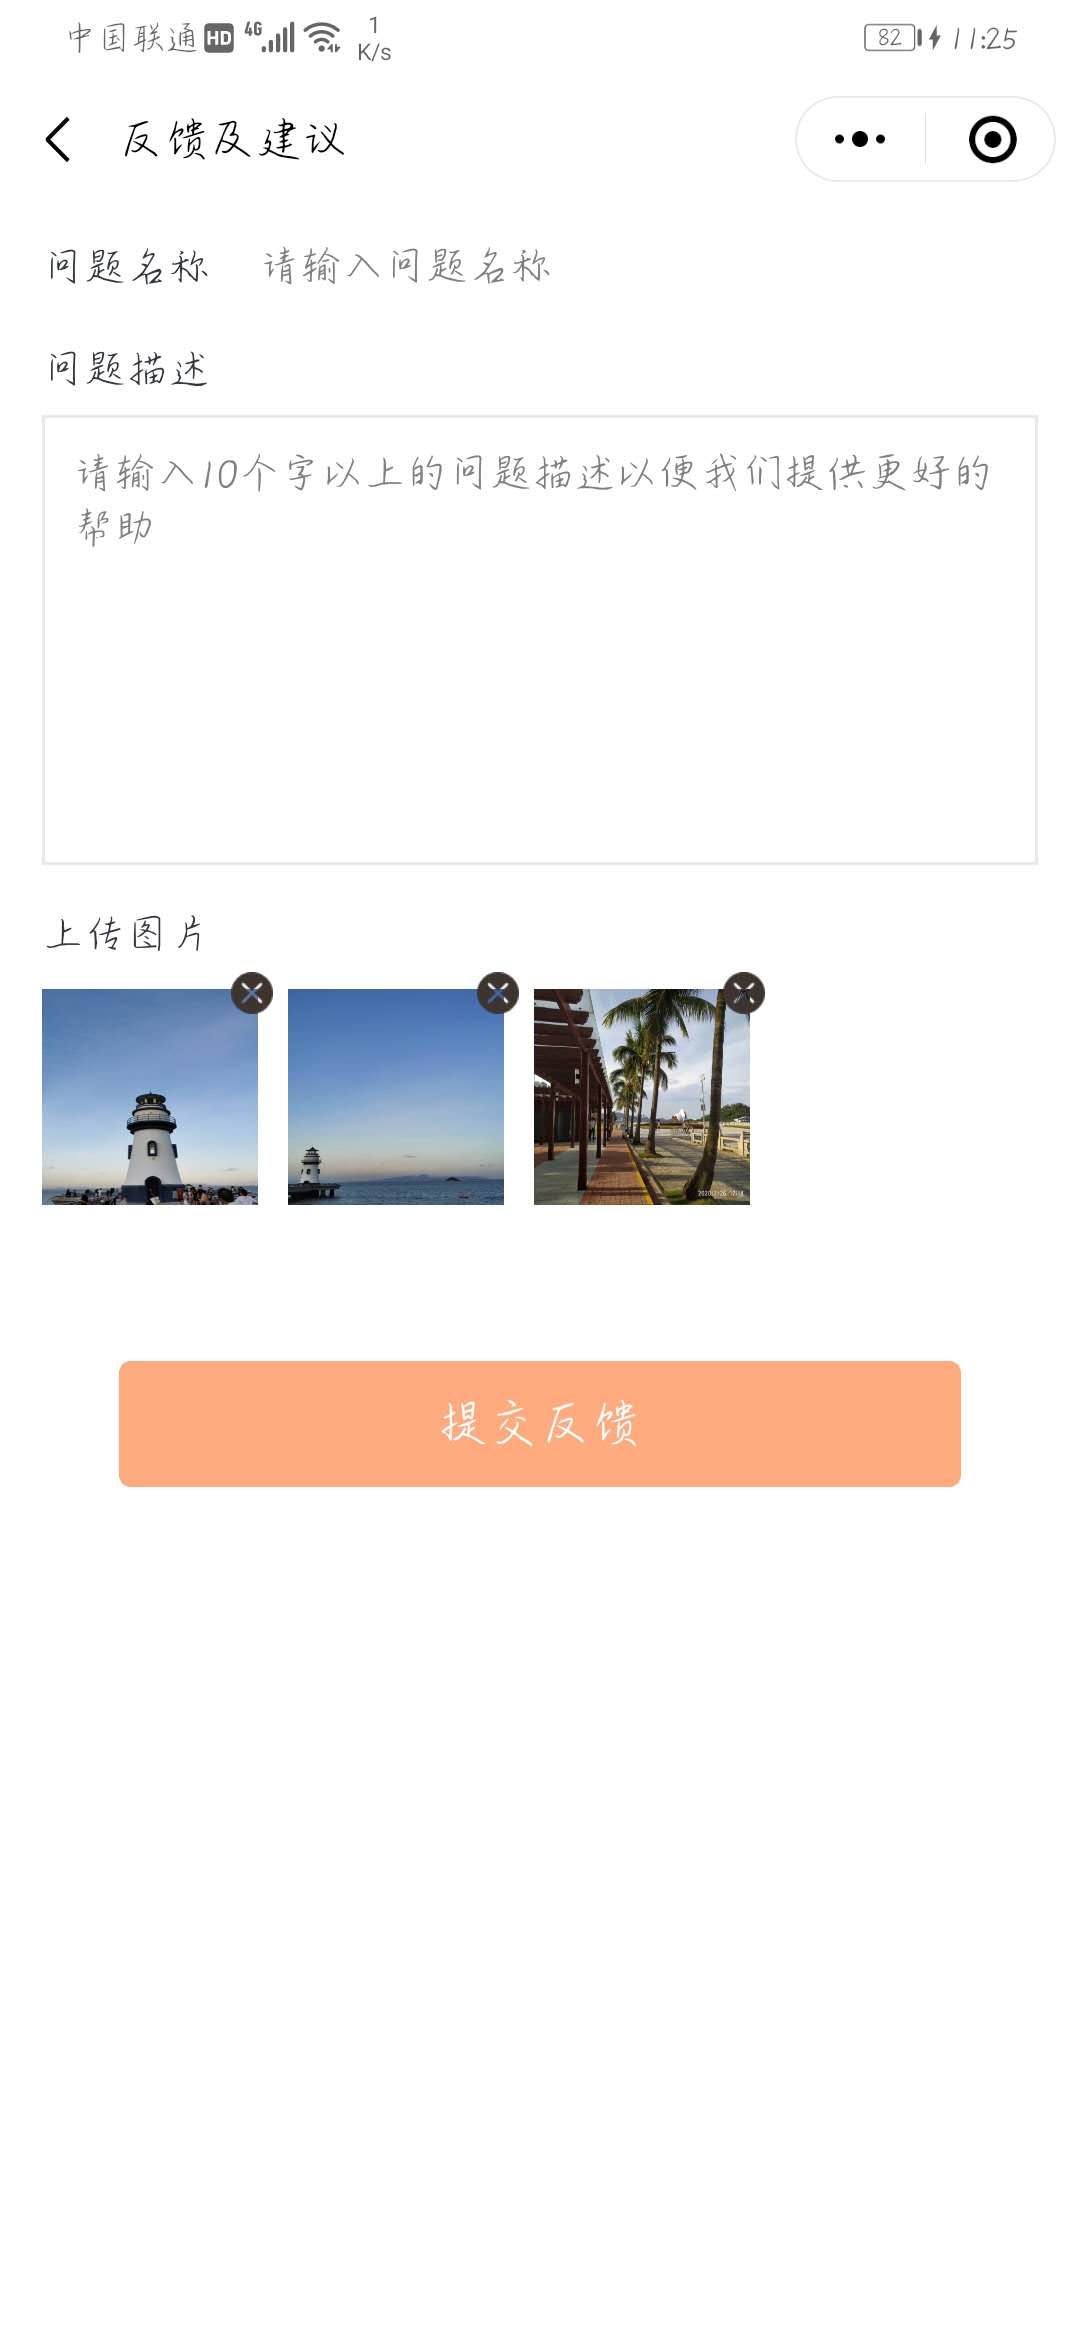
效果图
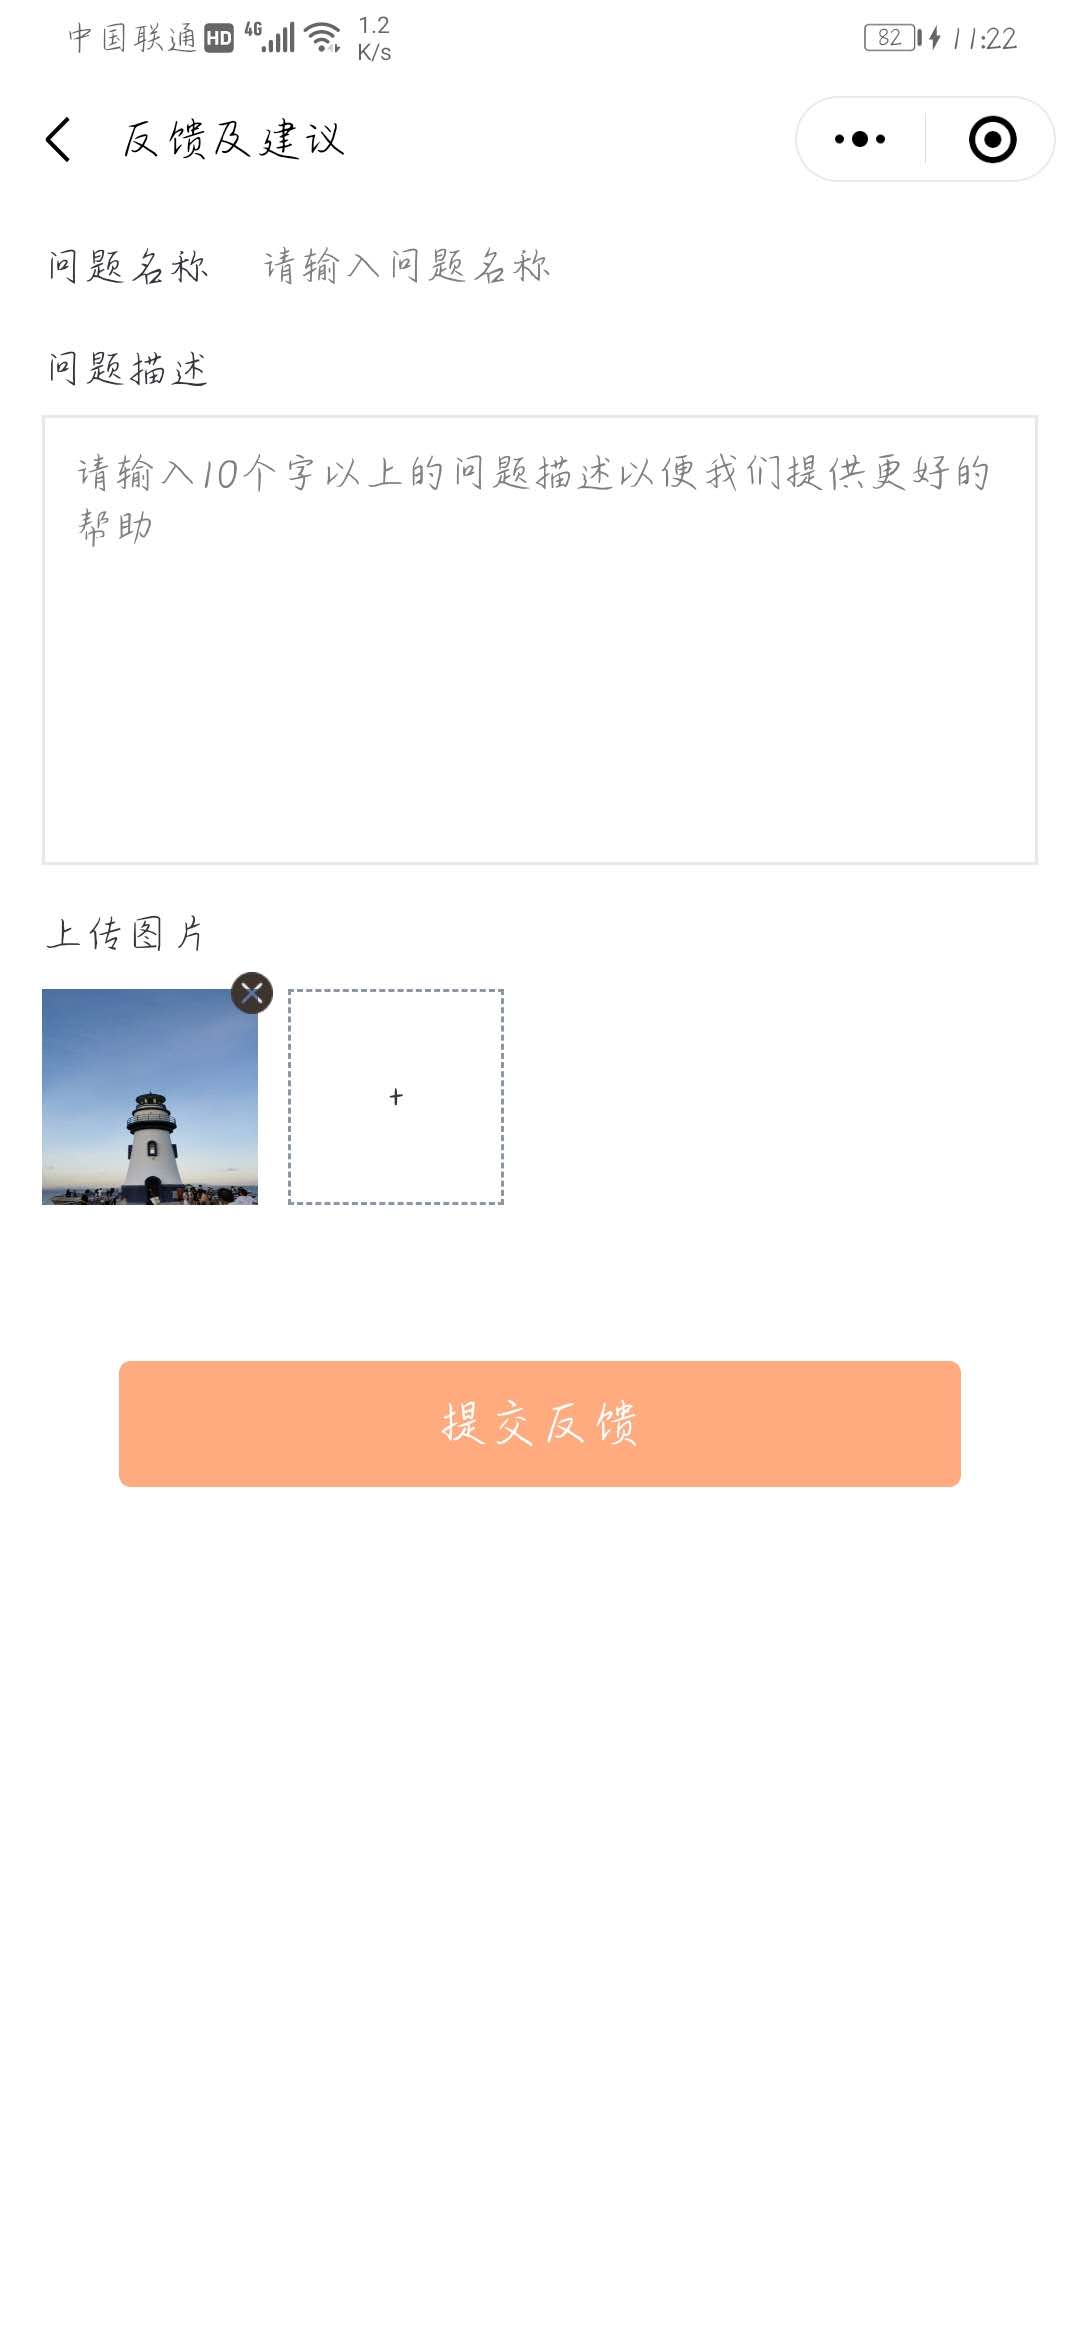

WXML
<view class="img-wrap">
  <view class="txt">上传图片</view>
  <view class="imglist">
    <view class="item" wx:for="{{imgs}}" wx:key="item">
      <image src="{{item}}" alt=""></image>
      <view class='delete' bindtap='deleteImg' data-index="{{index}}">
        <image src="../../../images/icon.png"></image>
      </view>
    </view>
    <view class="last-item" wx:if="{{imgs.length >= 3 ? false : true}}" bindtap="bindUpload">
      <text class="sign">+</text>
    </view>
  </view>
</view>
JS
data: {
  imgs: [],
  count: 3
},
bindUpload: function (e) {
  switch (this.data.imgs.length) {
    case 0:
      this.data.count = 3
      break
    case 1:
      this.data.count = 2
      break
    case 2:
      this.data.count = 1
      break
  }
  var that = this
  wx.chooseImage({
    count: that.data.count, // 默认3
    sizeType: ["original", "compressed"], // 可以指定是原图还是压缩图,默认二者都有
    sourceType: ["album", "camera"], // 可以指定来源是相册还是相机,默认二者都有
    success: function (res) {
      // 返回选定照片的本地文件路径列表,tempFilePath可以作为img标签的src属性显示图片
      var tempFilePaths = res.tempFilePaths
      for (var i = 0; i < tempFilePaths.length; i++) {
        wx.uploadFile({
          url: 'https://graph.baidu.com/upload',
          filePath: tempFilePaths[i],
          name: "file",
          header: {
            "content-type": "multipart/form-data"
          },
          success: function (res) {
            if (res.statusCode == 200) {
              wx.showToast({
                title: "上传成功",
                icon: "none",
                duration: 1500
              })

              that.data.imgs.push(JSON.parse(res.data).data)

              that.setData({
                imgs: that.data.imgs
              })
            }
          },
          fail: function (err) {
            wx.showToast({
              title: "上传失败",
              icon: "none",
              duration: 2000
            })
          },
          complete: function (result) {
            console.log(result.errMsg)
          }
        })
      }
    }
  })
},
// 删除图片
deleteImg: function (e) {
  var that = this
  wx.showModal({
    title: "提示",
    content: "是否删除",
    success: function (res) {
      if (res.confirm) {
        for (var i = 0; i < that.data.imgs.length; i++) {
          if (i == e.currentTarget.dataset.index) that.data.imgs.splice(i, 1)
        }
        that.setData({
          imgs: that.data.imgs
        })
      } else if (res.cancel) {
        console.log("用户点击取消")
      }
    }
  })
}
WXSS
.wrap {
  width: 100%;
  padding: 0 30rpx;
  box-sizing: border-box;
}
.wrap .img-wrap {
  font-size: 30rpx;
  color: #33373E;
  margin-bottom: 10rpx;
}
.wrap .img-wrap .txt {
  margin-bottom: 20rpx;
}
.wrap .img-wrap .imglist {
  display: flex;
  flex-wrap: wrap;
}
.wrap .img-wrap .imglist .item {
  width: 150rpx;
  height: 150rpx;
  margin-right: 22rpx;
  margin-bottom: 10rpx;
  position: relative;
}
.wrap .img-wrap .imglist .last-item {
  width: 150rpx;
  height: 150rpx;
  text-align: center;
  line-height: 146rpx;
  border: 2rpx dashed #8B97A9;
  box-sizing: border-box;
}
.wrap .img-wrap .imglist .item image {
  width: 100%;
  height: 100%;
}
.wrap .img-wrap .imglist .item .delete {
  width: 30rpx;
  height: 30rpx;
  position: absolute;
  top: -14rpx;
  right: -12rpx;
}
以上就是本文的全部内容,希望对大家的学习有所帮助,也希望大家多多支持自学编程网。

- 本文固定链接: https://zxbcw.cn/post/219602/
- 转载请注明:必须在正文中标注并保留原文链接
- QQ群: PHP高手阵营官方总群(344148542)
- QQ群: Yii2.0开发(304864863)