
springBoot Junit测试用例出现@Autowired不生效
前提条件:
1,测试类上面添加支持的注解
就能取到spring中的容器的实例,如果配置了@Autowired那么就自动将对象注入。
@RunWith(SpringJUnit4ClassRunner.class)
@SpringBootTest(classes = Application.class)//这里Application是启动类
pom文件添加:
<dependency>
<groupId>org.springframework.boot</groupId>
<artifactId>spring-boot-test</artifactId>
</dependency>
<dependency>
<groupId>org.springframework</groupId>
<artifactId>spring-test</artifactId>
<version>4.3.25.RELEASE</version>
<scope>compile</scope>
</dependency>
2,出现错误
java.lang.NoSuchMethodError: org.springframework.util.Assert.state(ZLjava/util/function/Supplier;)V
这种错误的出现一般都是jar包冲突,这里是将spring-test的版本号由5.1.11版本换成了4.3.25解决了(可参考比较spring-context的版本),当重复引用时也会提示错误,所以引入时需要注意!
3,注解解释
@runWith注解作用:
- – @RunWith就是一个运行器
- – @RunWith(JUnit4.class)就是指用JUnit4来运行
- – @RunWith(SpringJUnit4ClassRunner.class),让测试运行于Spring测试环 境,以便在测试开始的时候自动创建Spring的应用上下文
- – @RunWith(Suite.class)的话就是一套测试集合
SpringTest与JUnit等其他测试框架结合起来,提供了便捷高效的测试手段。而SpringBootTest 是在SpringTest之上的再次封装,增加了切片测试,增强了mock能力。
4,junit测试如何在idea上通过类中方法直接生成测试用例
第一步
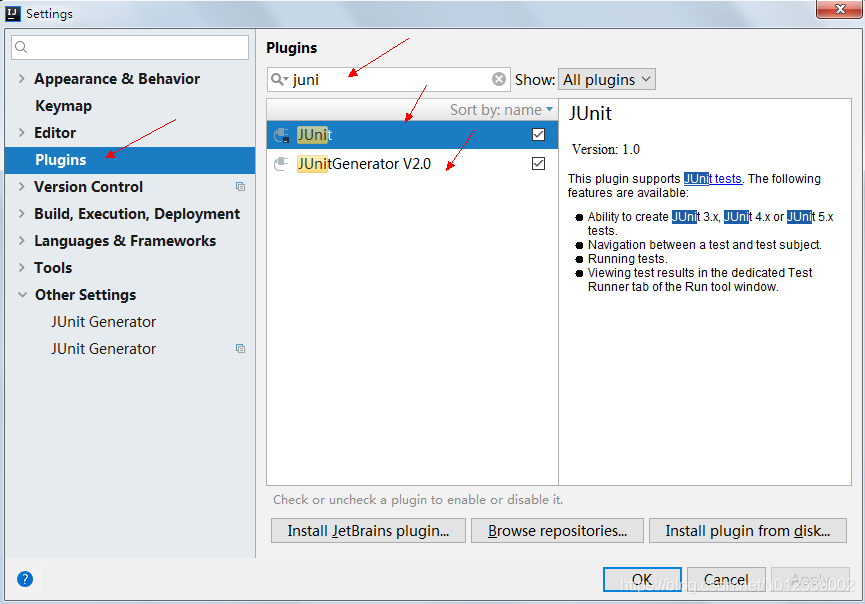
从插件资源库中搜索JunitGenerator V2.0插件并安装
第二步
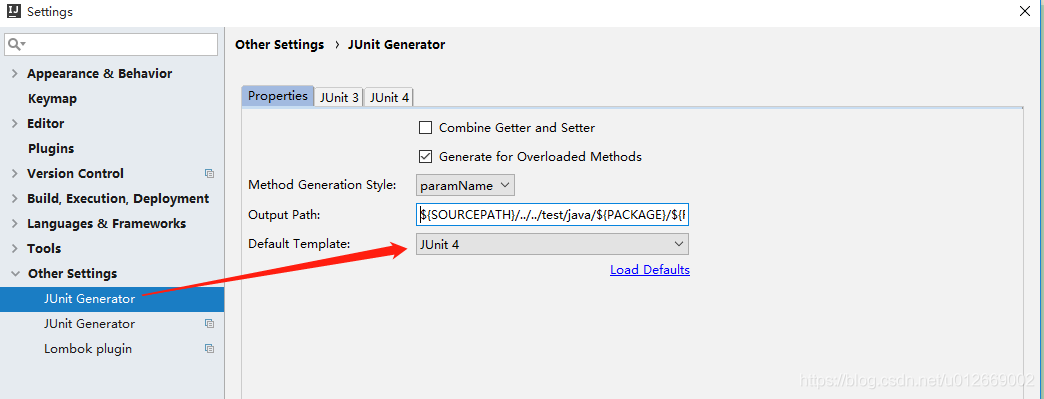
配置测试用例的生成目录
- 1.打开File->Settings
- 2.搜索junit,找到JUnit Generator
- 3.Properties选项卡里的Output Path为测试用例生成的目录,修改为test目录:${SOURCEPATH}/../../test/java/${PACKAGE}/${FILENAME}
- 4.切换到JUnit 4选项卡,可以修改生成测试用例的模板,比如类名、包名等
第三步
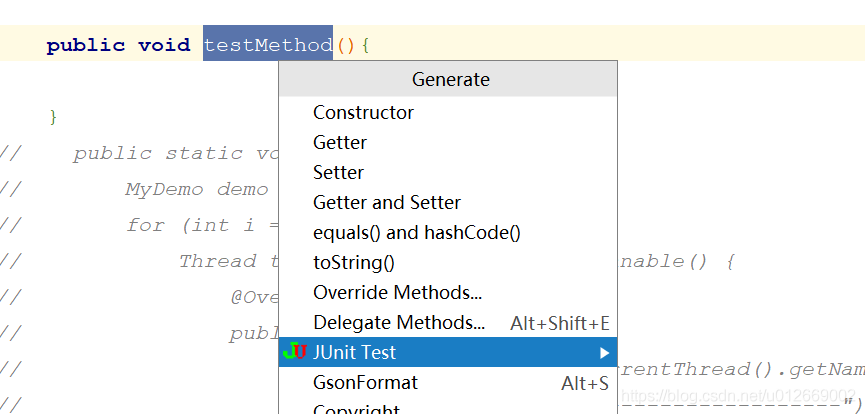
为指定的方法创建自动创建测试用例右键
Junit中@Autowired失效
今天学习spring注解的时候,用junit来测试
利用注解在容器中创建Student对象
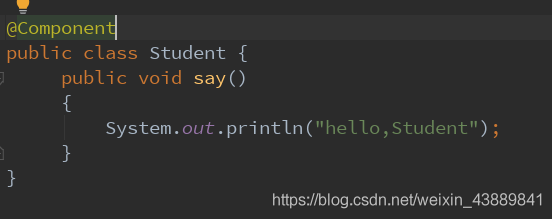
然后用@Autowired注解进行自动装配
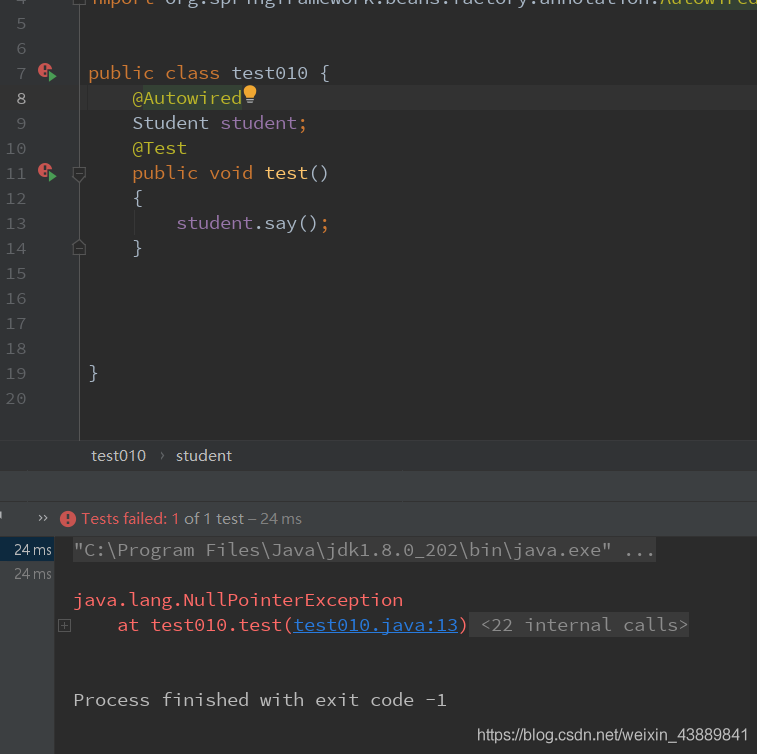
出现了空指针异常
原因
在Test方法执行的时候,并不会给你创建容器,junit也不知道你是否在使用spring,默认单例模式下没有容器也就不会有@Autowired自动装配有效
解决方案
1. 导入 Spring 整合 Junit 的 jar包
在pom.xml中加入依赖
...
 <dependency>
            <groupId>junit</groupId>
            <artifactId>junit</artifactId>
            <version>4.12</version>
            <scope>compile</scope>
        </dependency>
        <dependency>
            <groupId>org.springframework</groupId>
            <artifactId>spring-test</artifactId>
            <version>5.0.2.RELEASE</version>
        </dependency>
 ...
注意在使用5.x的spring依赖时,junit版本需要在4.12及以上
2. 使用 Junit 提供的一个注解 –@Runwith把原有的 main 方法替换了,替换成 Spring 提供
3. 告知 Spring 的运行器, Spring 和 ioc 创建是基于 xml 还是注解的,并且说明位置,用到的注解如下
@ContextConfiguration
Locations : 指定 xml 文件的位置,加上 classpath 关键字,表示在类路径下(适用于使用xml文件进行IOC)
classes : 指定注解类所在地位置(适用于你使用新创建的配置类取代xml文件进行IOC)
如下:
@RunWith(SpringJUnit4ClassRunner.class)
@ContextConfiguration(locations = "classpath:applicationContext.xml")
public class test010 {
    @Autowired
    Student student;
    @Test
    public void test()
    {
        student.say();
    }
}
运行结果
hello,Student
以上为个人经验,希望能给大家一个参考,也希望大家多多支持自学编程网。

- 本文固定链接: https://zxbcw.cn/post/221699/
- 转载请注明:必须在正文中标注并保留原文链接
- QQ群: PHP高手阵营官方总群(344148542)
- QQ群: Yii2.0开发(304864863)